Friday, 21 October 2011

2nd Lesson - How to Oil Paint A Soft Focus Background

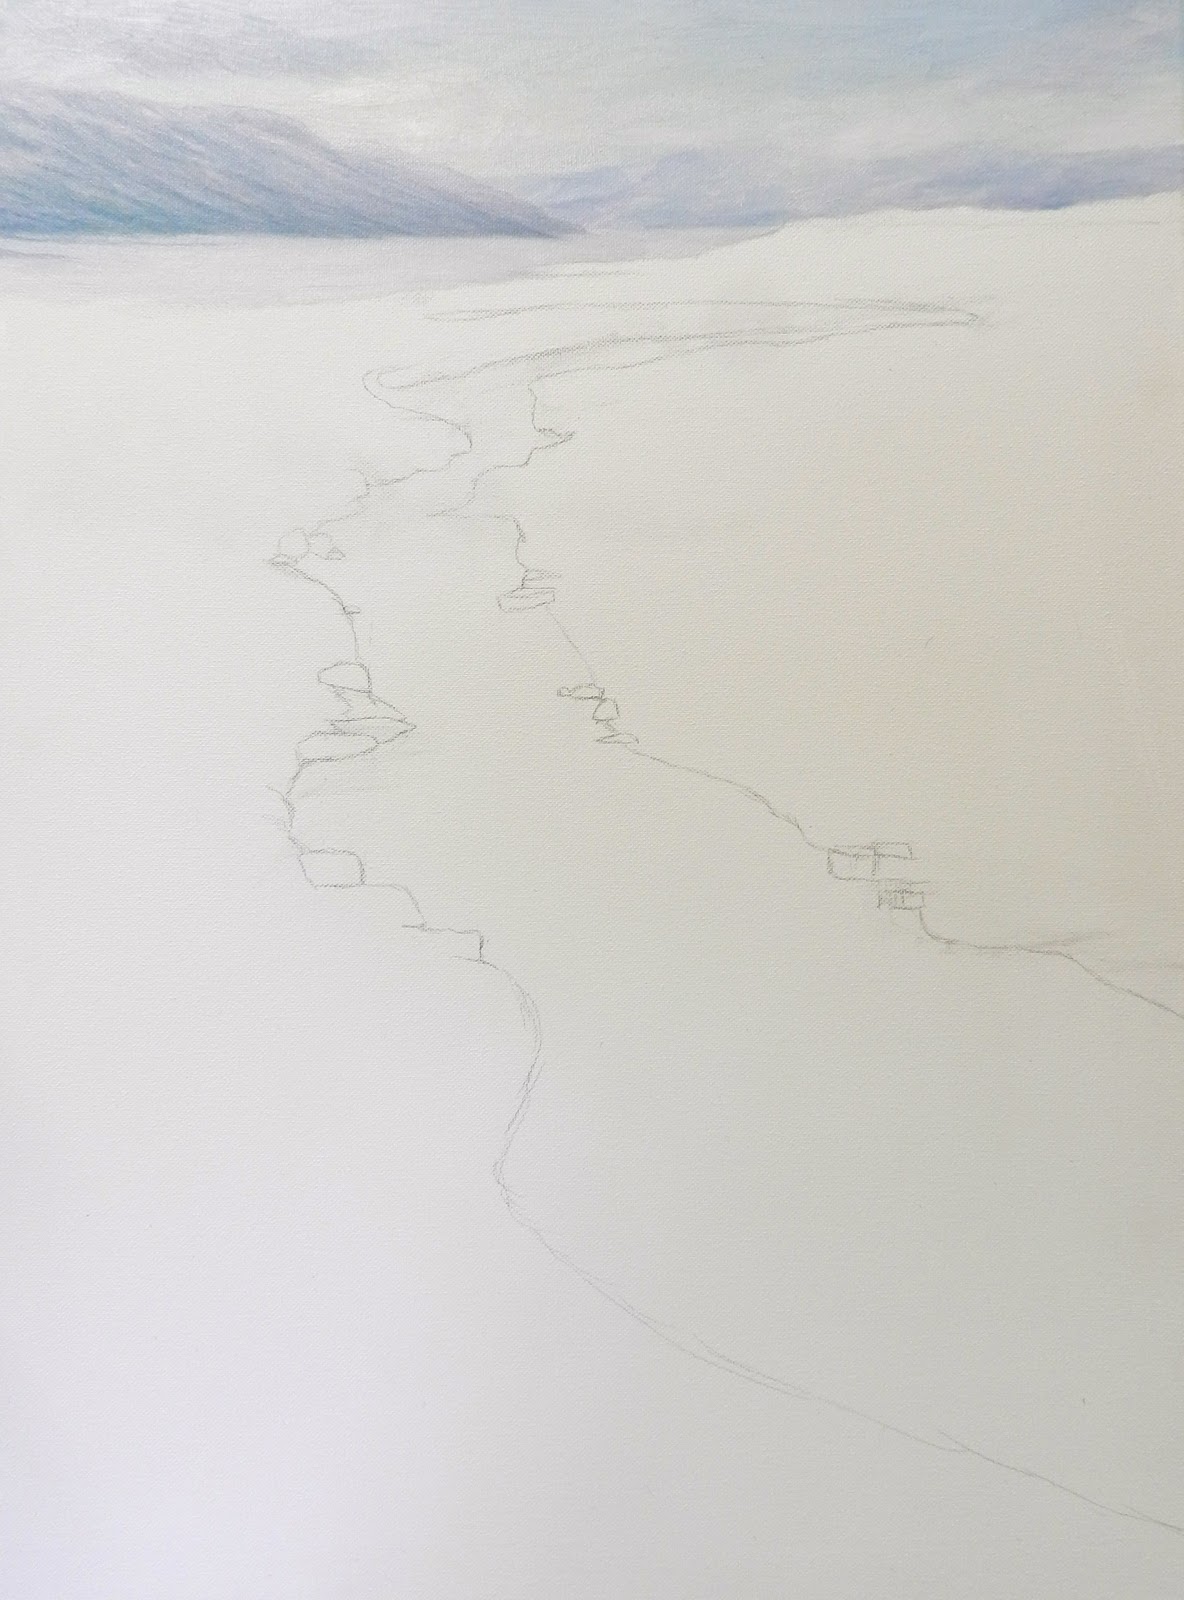
Subjects further away lose their intensity of colour, focus and sharp contrasts.  Cool colours help to create distance.  The sky is darker at the top and fades as it recedes towards the horizon.  So with a mix of Cobalt Blue and white, we paint from the top, adding white as we proceed down the canvas.  Add wispy clouds with white, feathering off into the wet paint.  Clouds are bigger and fluffier at the top and become smaller, closer together and flatter towards the horizon.  Give them some shadow underneath with a purpley blue (Cobalt, White and a touch of Permanent Rose).

  The mountains are a very soft purple (one shade darker than the sky).  We've used some Cadmium Yellow Deep and a touch of Red Gold to bring out some greens as the mountains come forward.  While the paint is wet, brush the tops of the mountains into the sky to soften any hard edges.  You can use a dry, soft brush to go over everything in a criss-cross fashion very lightly to further blur any edges.  The mountains should be lighter at the top and darker towards the bottom, as this is closer to the viewer.

New Painting - The Isle of Skye, Scotland

Well, my Wednesday class and I have begun our next painting.  They chose this photo I had taken on the Isle of Skye.  What a beautiful island!  They all decided that it was time to go Big - so we are using a 50x60 cm canvas.  The first lesson was the drawing of the creek - a bit tricky but worth the time to get the perspective right.

Saturday, 15 October 2011

6th Lesson - Portrait

I painted in the sunnies - I was thinking of leaving them out but changed my mind.  They have that great reflection of the blue light in the lens that was fun to paint.  Anyway, the hair was this lesson.  I like to give a bit of a halo effect to start with the hair, so it blends into the background.  One shade lighter or darker depending on the tone and colour of the background, I just mess up the edge of the hair to give the head depth.  Start the hair with darks and gradually lighten up with nice smooth brush strokes.  Then it's on to a very fine brush, going over the hair, strand by strand!  Bit tedious, but hopefully looking like hair!

Thursday, 6 October 2011

5th Lesson - Portrait

I decided to finish my background now as I wanted to smooth off the edge of the face and start the hair.  These are best done while the background is wet.  I could then decide where to enhance the face with the background colours and start thinking about what colours to do for my daughter's top.

Sunday, 2 October 2011

Lesson No.11 - The "Renoir Technique" For Painting Trees


We painted in the large tree in front of the shed starting with darks and working our way towards the light.  We used a Renoir effect on the leaves - dabbing this way and that - with a loaded soft brush.  It was fun to go crazy.  The foreground grass was flicked over the cow's legs (basically to hide any imperfections as their legs were tricky to paint).  All we need now is a signature!