I like to do a watercolour in between my oils to keep things interesting. I love cheetahs. Fastest land animal on earth. They can reach 100 km/hr in 4 seconds! I walked with this cheetah called Sheba at Australia Zoo with my daughter. It was amazing. Their spots feel rough compared with the rest of their coat. Their trainer said that she loved children - not in a good way! We were out in the open but far enough away from any toddlers that might look tempting. He also told us not to look her in the eye but when I approached her from behind, she turned and stared straight at me (her face was a hand's width away from mine)!
Welcome to my art blog. I am a professional artist/art teacher. Here you can follow my free art lessons where I give instructions and advice on how to paint in oils. Check out my range of How To Oil Paint books on Amazon & Itunes, Visit my website (www.howtooilpaint.info) where, with my fellow artist Jo, we give more great tips on how to paint with oils.
Saturday, 29 September 2012
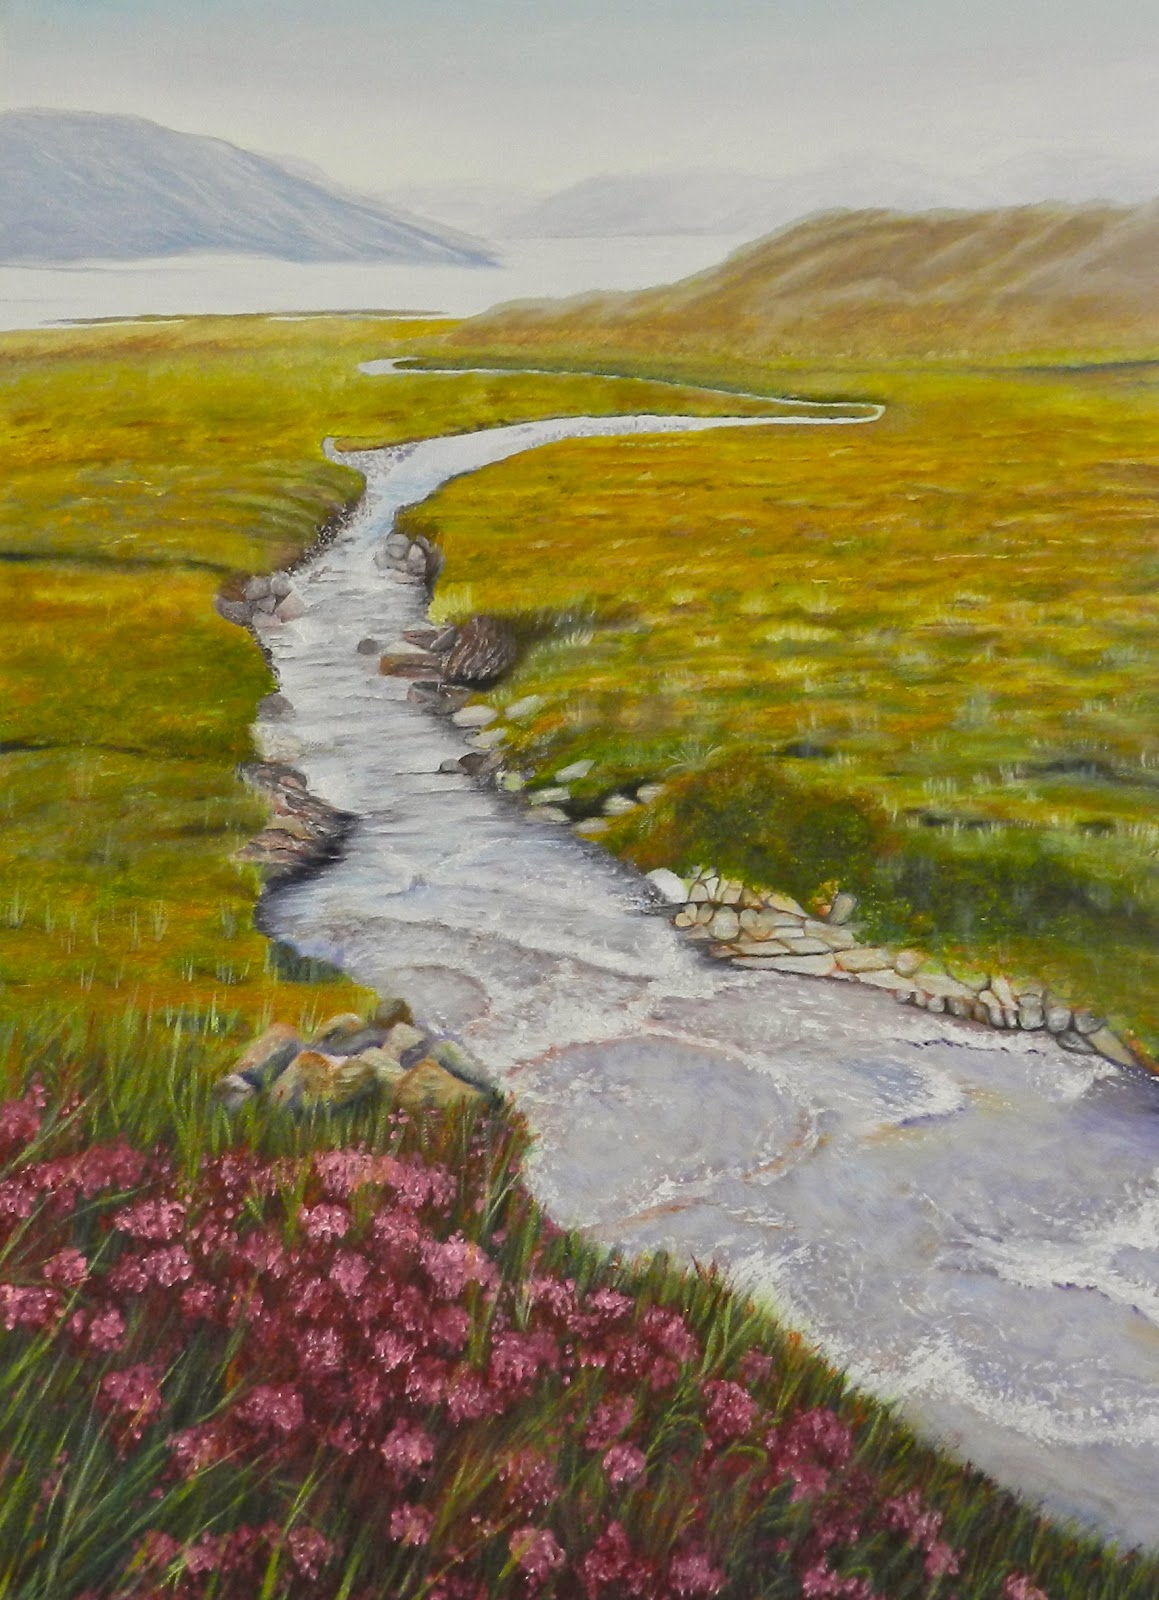
Friday, 21 September 2012
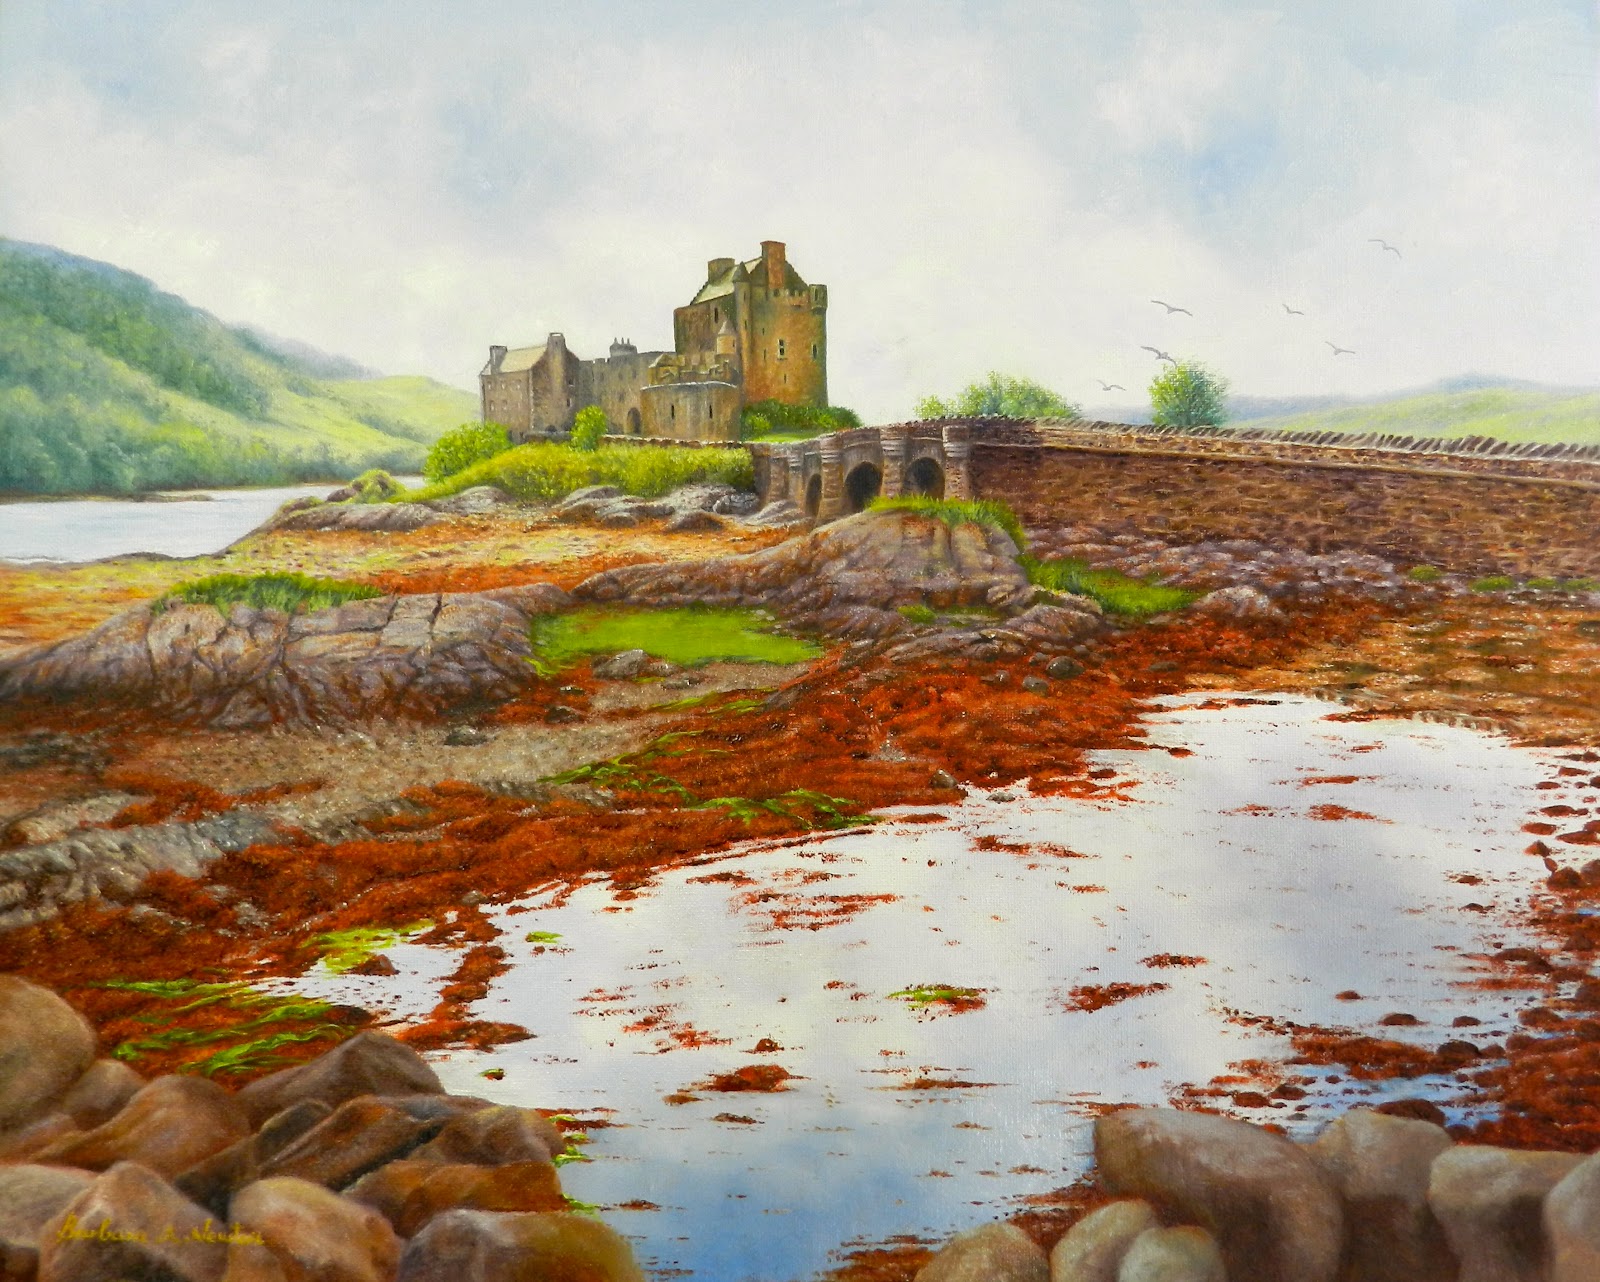
Eilean Donan Castle, Scotland
Another Scottish painting! This would have to be the most picturesque castle we have seen so far. I was nearly tempted to add some horses and knights in medieval garb walking along the bridge! The big rocks in the middle distance proved a little tricky for me but I persevered. (I went over them 3 times!) I used Burnt Sienna for the seaweed - it's such a beautiful, rich colour.
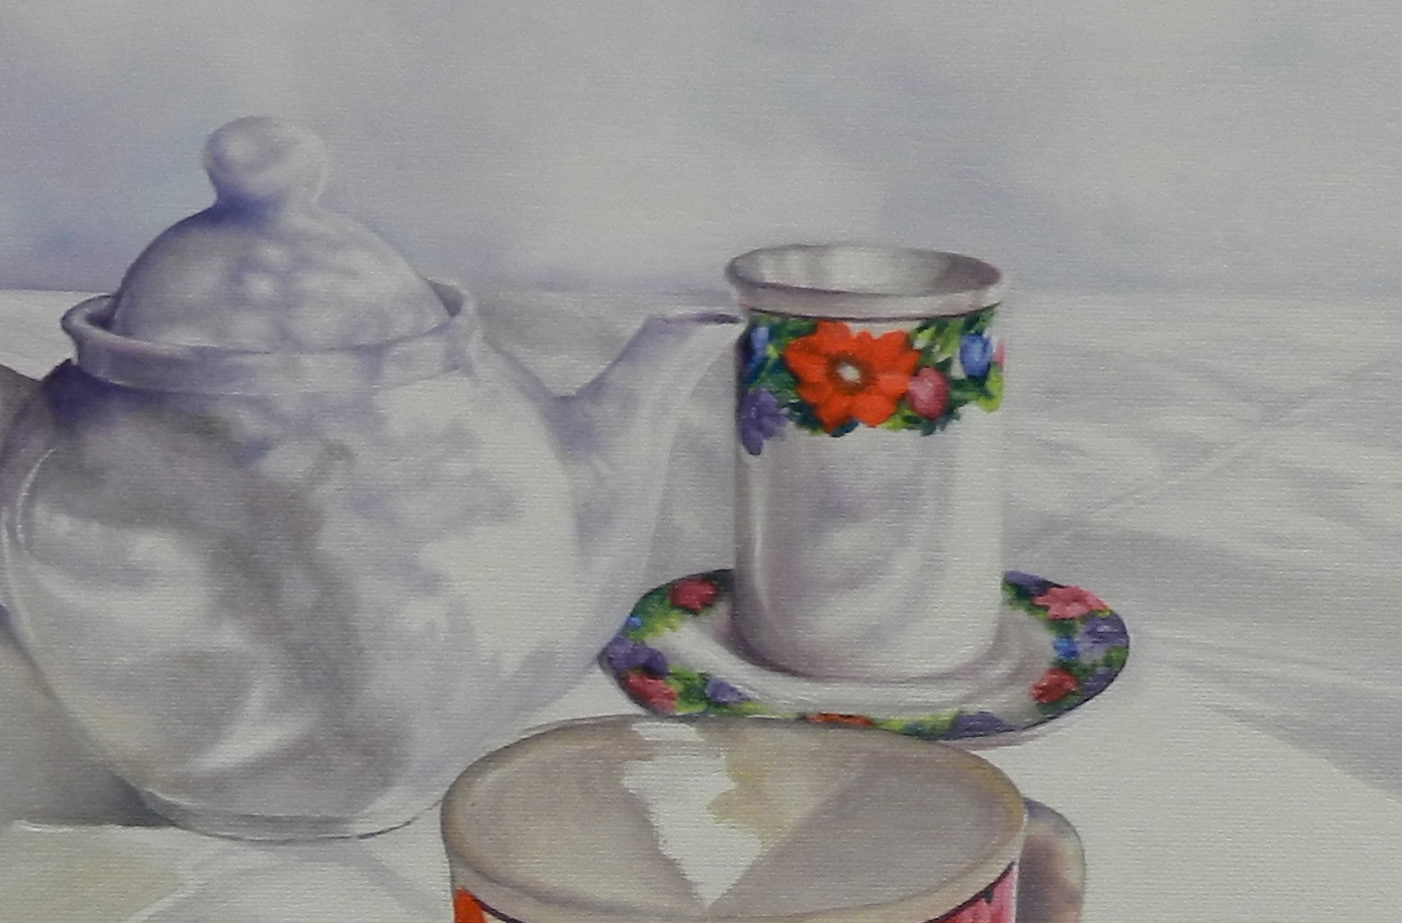
10th Lesson - Teacups
Today, we decided to go back to the teacup at the back and tidy up. I feathered the flowers and shadows off so that they were softer. The shape of the cups and teapot has been the biggest challenge for me. I have been continually correcting the 2 saucer shapes and lip of the cups. Looking at the photo now, I see I still have to get some of my background colour and bring it down into the top of that back cup to lower the edge a bit. I have also redarkened the tablecloth between the teapot and cup to bring the teapot forward.
Sunday, 16 September 2012
9th Lesson - Teacups
Now we are adding the greens. We've mixed Cobalt and Lemon together to make a bright green which immediately enhances the whole painting. I have a dark, medium and a light green mixed on my palette before I start. Using a No.0 pointed taklon brush I quickly stroke the different tones of greens to give the impression of leaves. Just make sure the cup at the back is a little more out-of-focus than the teapot in front, so feather off these colours slightly as you go.
Saturday, 8 September 2012
8th Lesson - Teacups
The shadows are coming along slowly. For the light shadows, I am using Cobalt, Permanent Rose and Australian Grey, and for the darker shadows on the left, I am using Cobalt and Permanent Rose with a dot of Lemon. Shadows from a photograph can appear quite hard and flat, so just remember to make them softer in your painting with lots of varying tones and colour.
Sunday, 2 September 2012
7th Lesson - Teacups
We've put in nearly all of the flowers and just have the leaves to go as decoration on the cups. Before we continue I decided to go back to the shadows on the cups. The shadows are a mixture of Permanent Rose, Cobalt and Australian Grey. They vary in colour and tone to give a realistic impression.
Subscribe to:
Posts (Atom)