
Tuesday, 26 March 2013
3rd Lesson - Marylyn Mayo
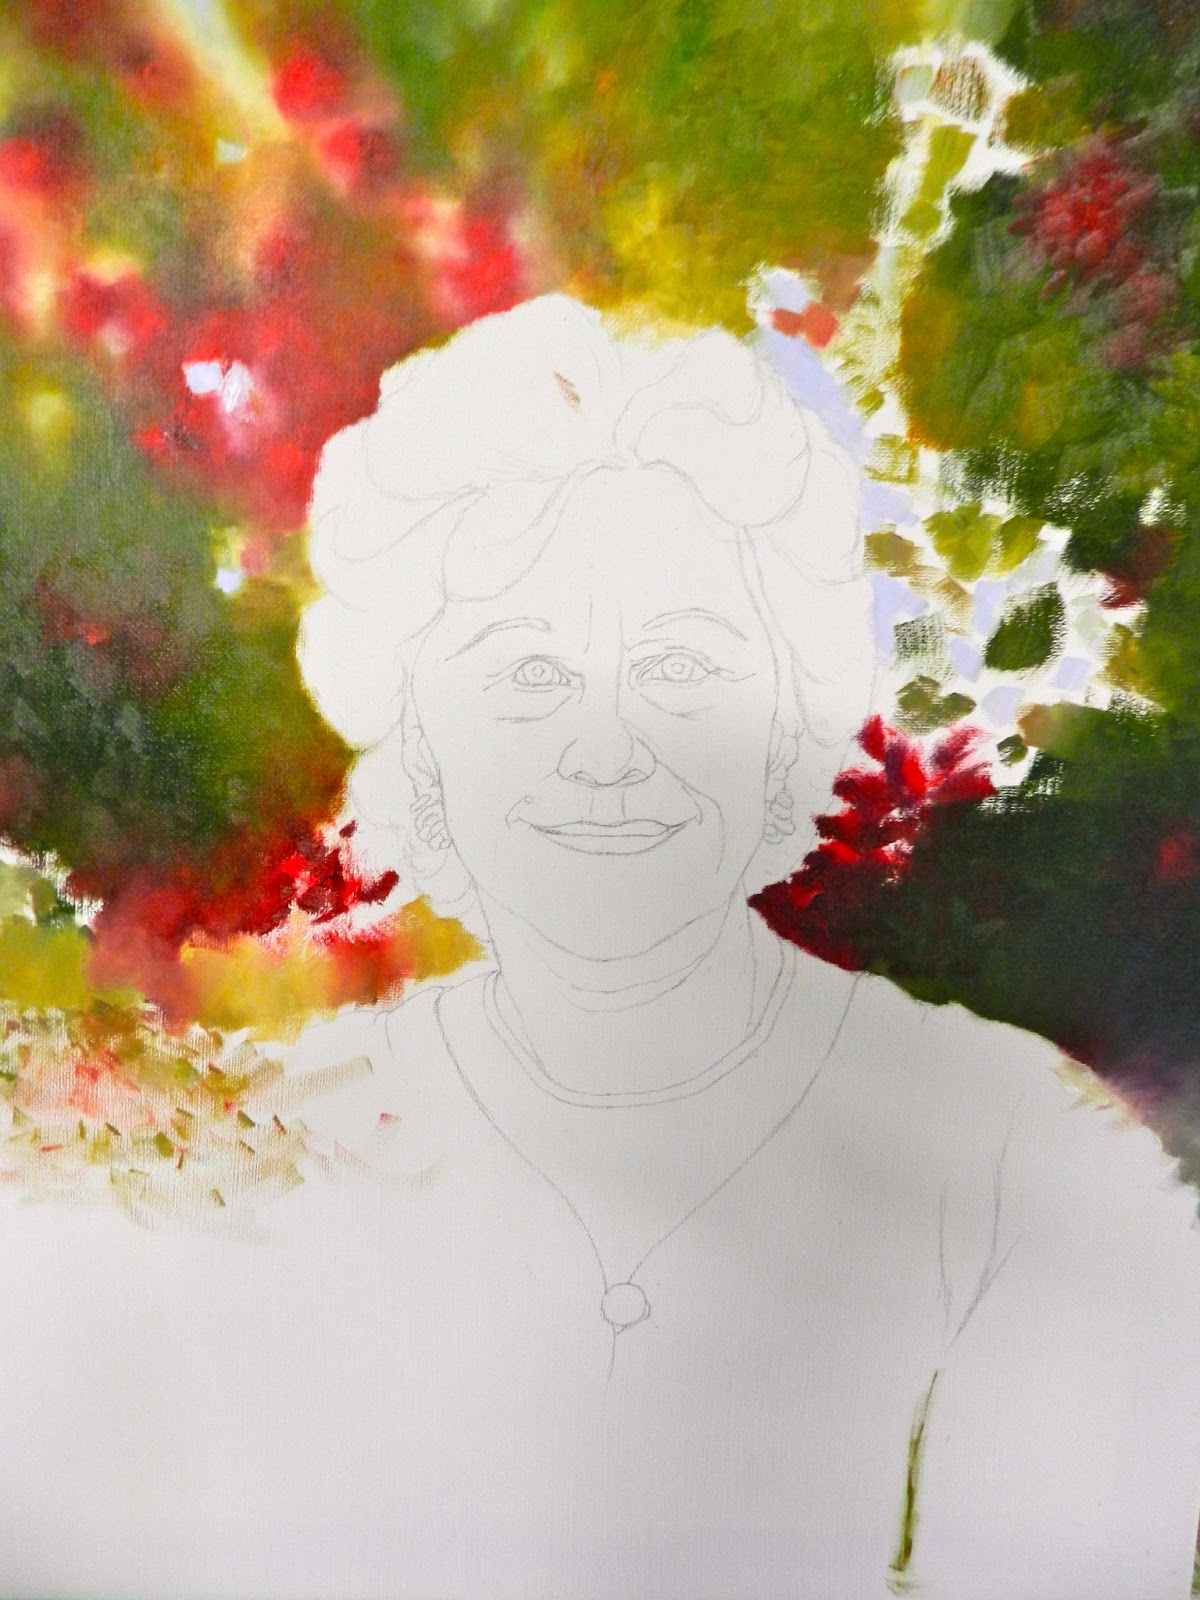
I further broke up large sections of colour with both darks and lights, feathering off as I went. Lastly, I used a dabbing action with my brush to bring some of the background forward using stronger highlights. These dabs of paint are slightly sharper to show depth in the background. I brought these sharper dabs around the left-hand side so that the foliage will eventually be in front of the sitter.

Saturday, 23 March 2013
2nd Lesson - Marylyn Mayo
Marylyn loved her garden which had ocean views. A lot of the photos I received from John were of the garden where she had beautiful bougainvillea growing. As Marylyn's photo is quite light in colour, I decided on a dark, contrasting background. I painted in the dark greens first using a mix of Ultramarine Blue and Cadmium Yellow Deep. Next I dabbed in a lighter green, swapping the Yellow Deep for Lemon. I left gaps for the flowers. I started with Scarlet Lake straight from the tube to get a lovely clean deep Red, then added some Ultramarine for a darker hue. Then it was time to blend it all together. I used a size 8 brush to initially brush on the colours then swapped to a smaller, very soft flat No.2 brush. The trick with feathering off a colour like red with green is to very gently go over where the 2 colours mix and continually wiping your brush off on a rag. You don't want to end up with mud.

Sunday, 17 March 2013
Portrait - Marylyn Mayo
The Marylyn Mayo Lodge in Cairns is a home away from home for regional cancer patients who travel to Cairns for cancer treatment. The lodge is named after Marylyn Mayo who died of breast cancer in 2002. Her husband, Dr John Mayo, has been the lodge's major benefactor. In appreciation of his tremendous support, the Cancer Council of Queensland has asked me to do a portrait of Marylyn.
1st Lesson - Portrait of Marylyn Mayo
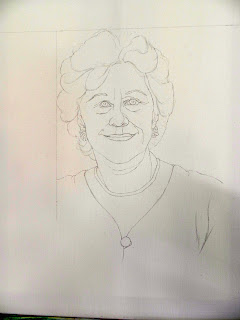 Obviously, I will be painting this portrait entirely from photos. I've enlarged the photo to an A3 size to try and get a clearer picture. You can see that I have drawn a box around where I wanted the head to be on the canvas, which of course is the main focus of the painting.
1st Lesson - Portrait of Marylyn Mayo

Thursday, 14 March 2013
6th Lesson - Greek Steps
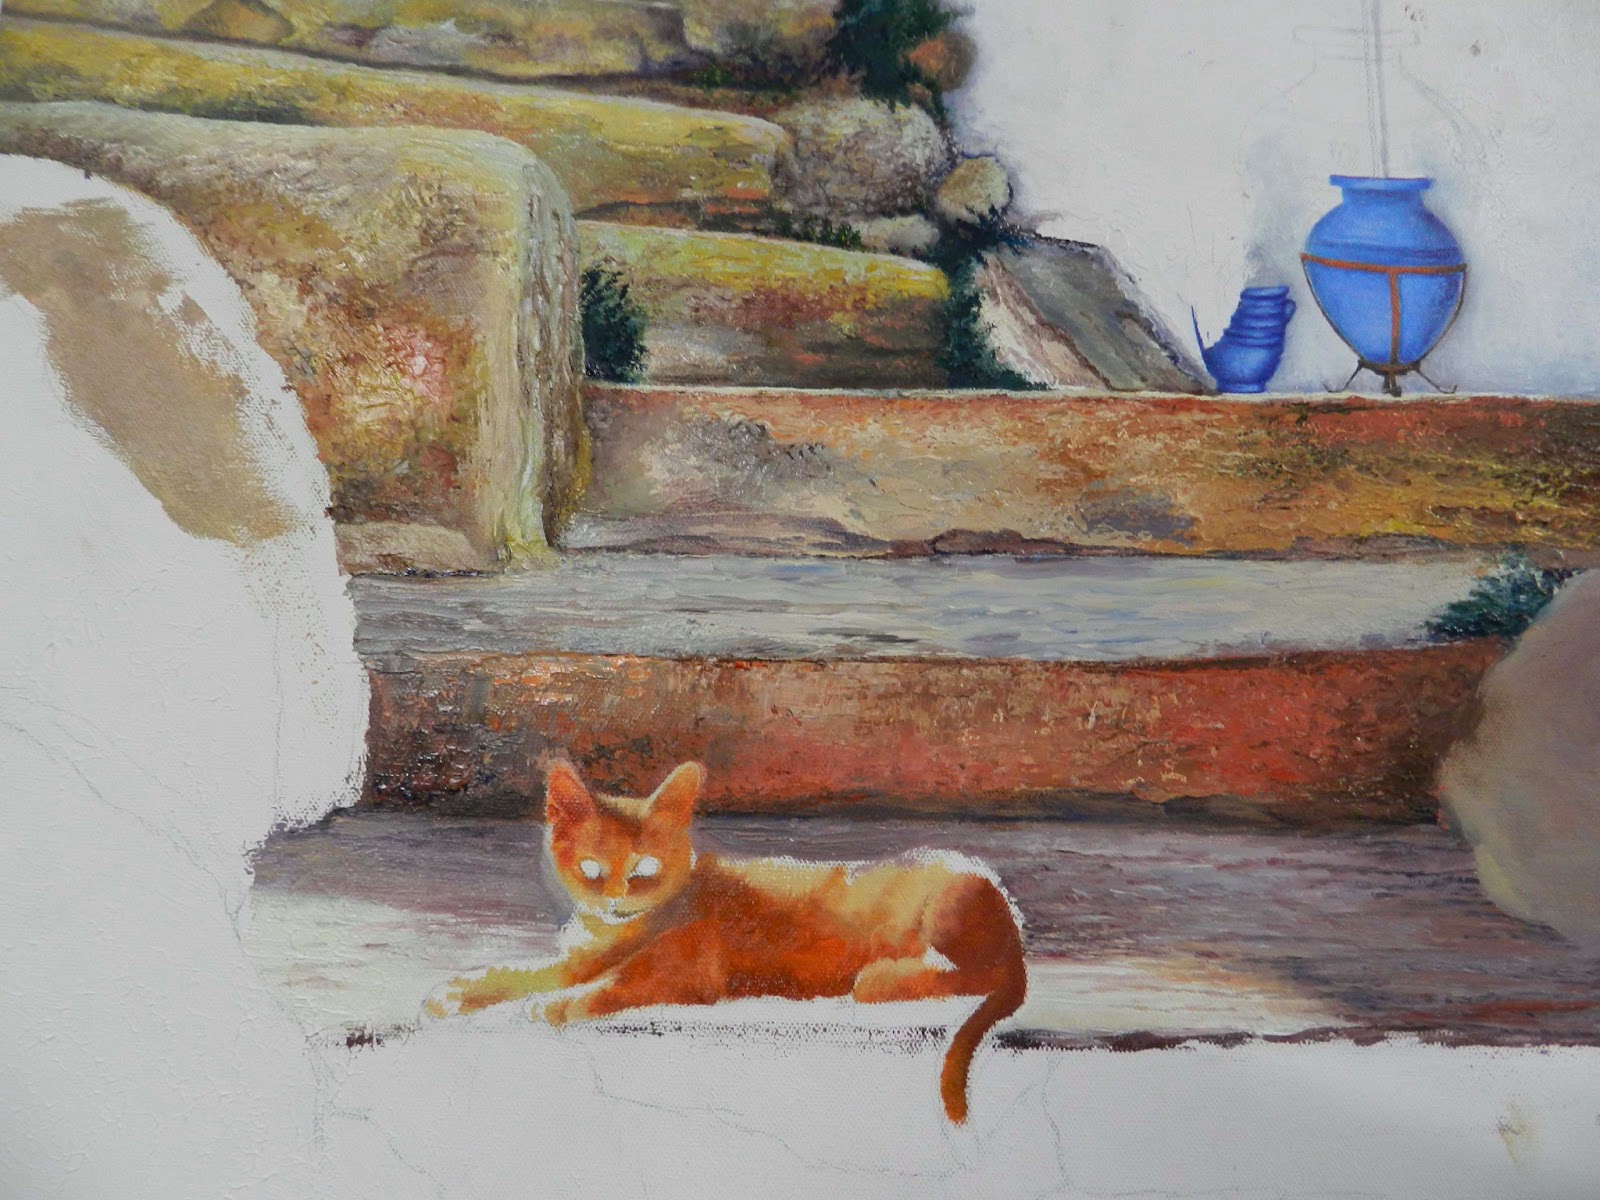
I gave the steps a break and played around with some pots. I wanted a contrasting colour to the steps, so I chose a cobalt for the pots. Even though the pots are in the shade, they still need shadow and highlights. Give them soft edges by darkening the wall behind them so that they nestle into the painting rather than stick out. I left them and brushed in some colours for the cat. I used Cadmium Red Light and Light Red and some Cadmium Yellow Deep. I haven't finished the cat yet - I've just brushed in the different tones and tried to work out where the dark shadows lie. Now I can see that I need more contrasting colour around the cat to break up the warm oranges - maybe another pot, or more greens?

Tuesday, 5 March 2013
7th Lesson - Camels

Subscribe to:
Posts (Atom)