
Thursday, 28 February 2013
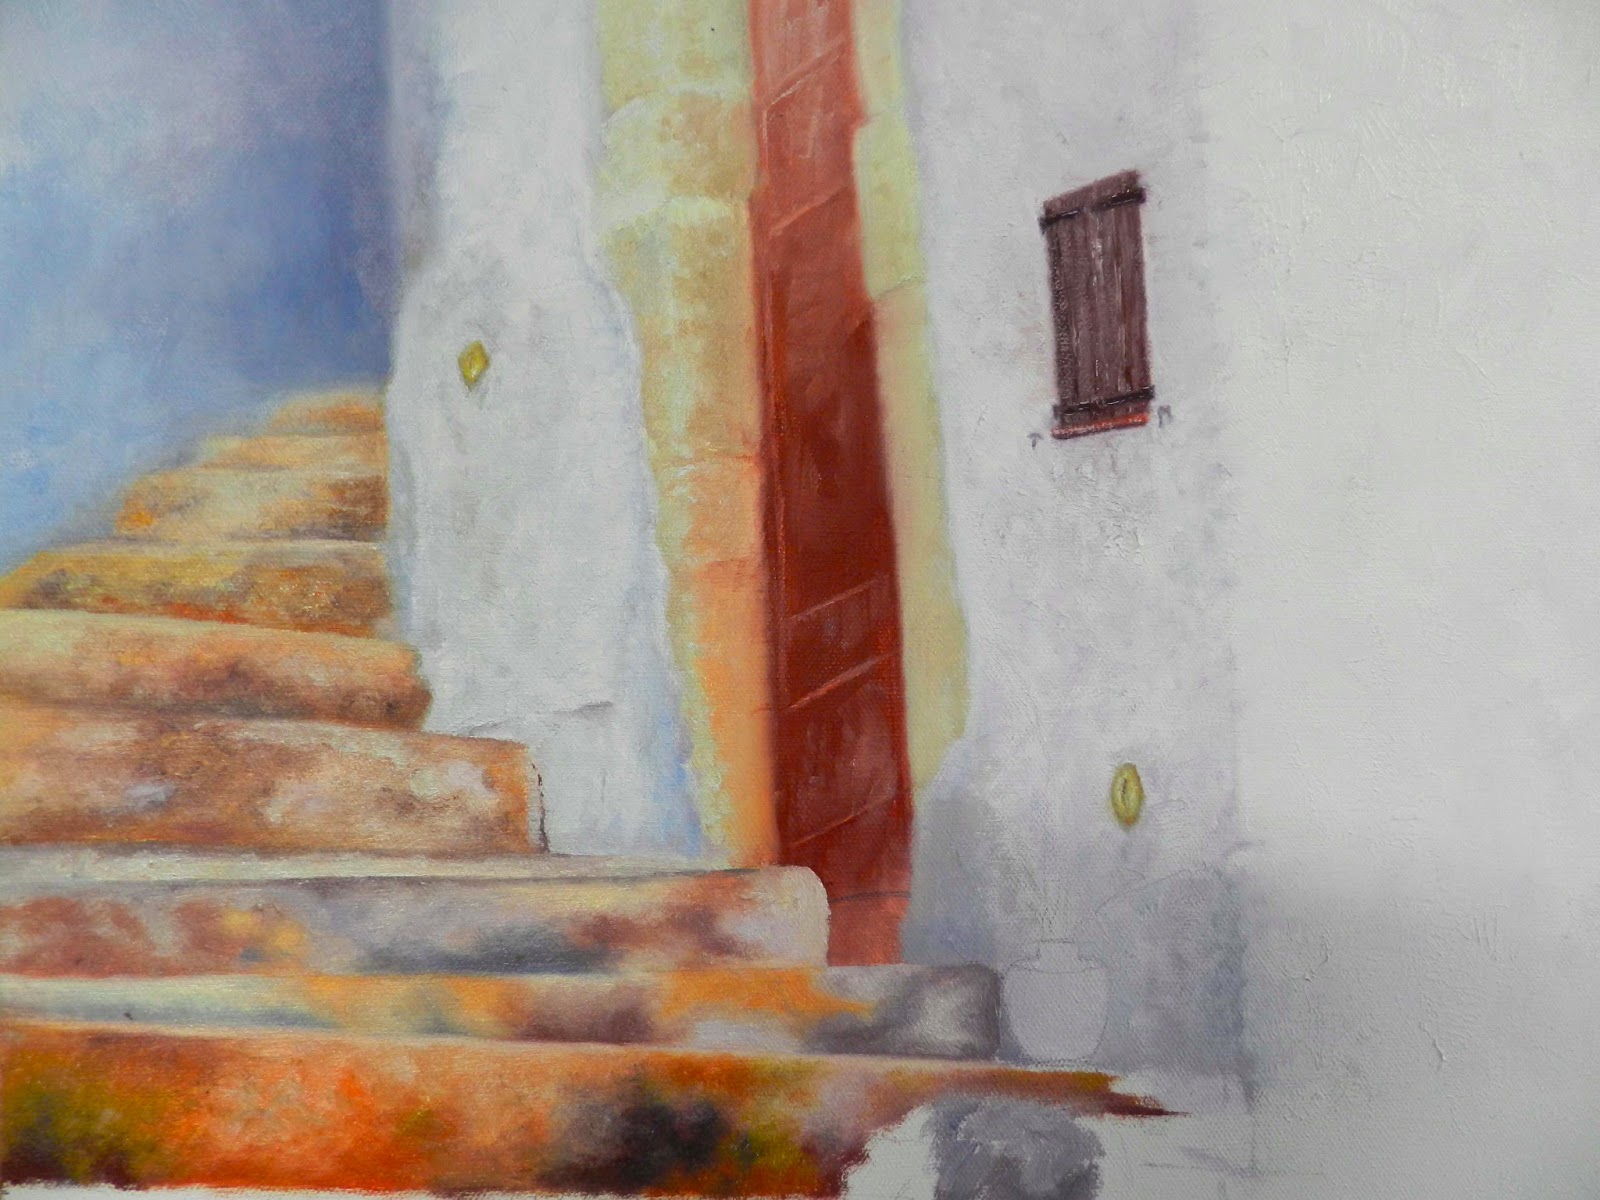
5th Lesson - Greek Steps
Sunday, 24 February 2013
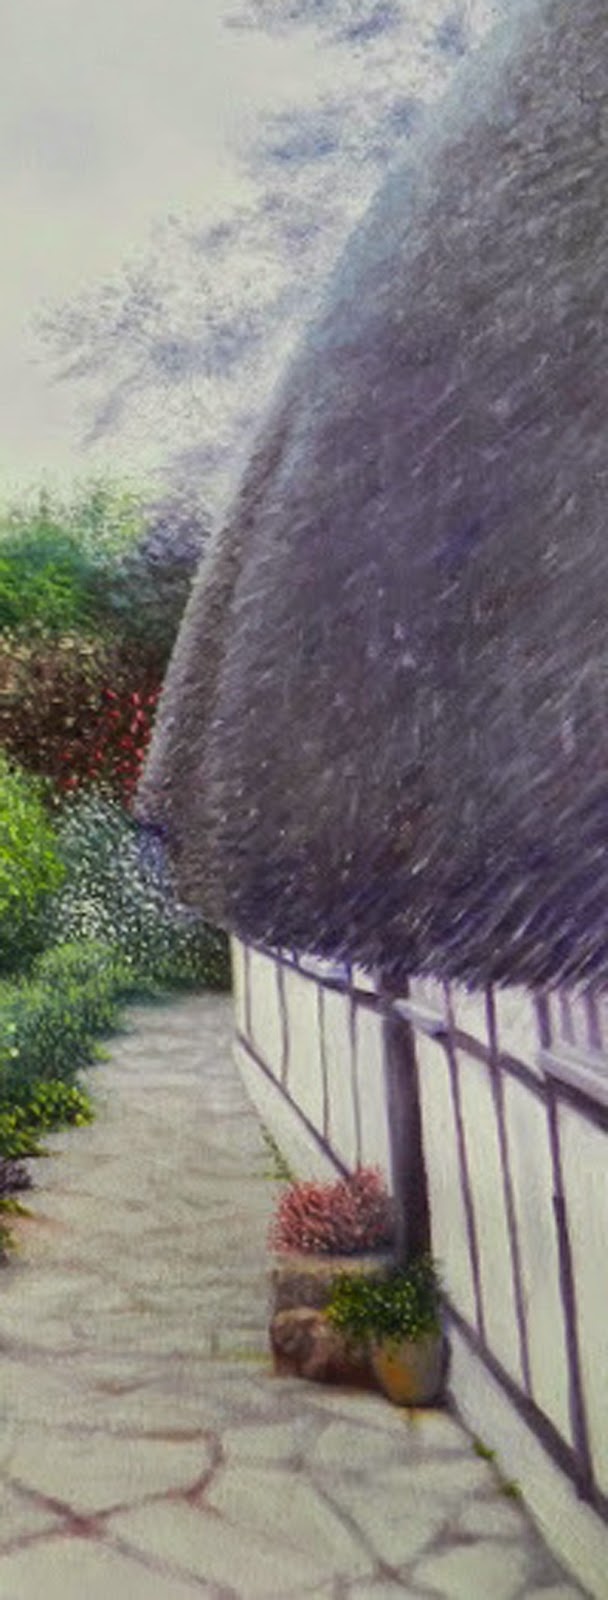
Finished - "Blewbury Cottage, UK"
I put in more darks in the garden near the front, just dabbing here and there to create pockets to give a bit more depth. I used some new random colours for flowers to dot over any areas that were a bit boring. All it needs now is a signature and a varnish (give it about 3 months to dry) and a frame!


4th Lesson - Greek Steps
I think the focal point of this painting is the colour and texture of the steps. So as we move forward into the foreground, I am going to use a palette knife. Using the same colours, I scoop a knife-ful of premixed paint (dark colours first) and literally scrape the paint horizontally across the step. One step at a time is a good idea at this stage. Next I mix the colours on my palette very loosely, so that when I scrape the next shade (lighter colours) across the step, the colours aren't quite blended and appear patchy, which help to increase interesting detail on it's own. Once that is done, you can use your wide flat brush to smooth out some parts, add a bit of an edge to the top of the step, or just blend in bits that you think might be too sharp at this stage. Have fun!


Thursday, 21 February 2013
3rd Lesson - Greek Steps
We are just continuing on down the steps, making them a little more detailed, a little more colourful and a little bit sharper! We are also applying the paint thicker as the next lesson will involve using a palette knife, and we don't want the sudden jump from thin paint to impasto.

Saturday, 16 February 2013
Keep That Second Cottage Out-Of-Focus
Thursday, 14 February 2013
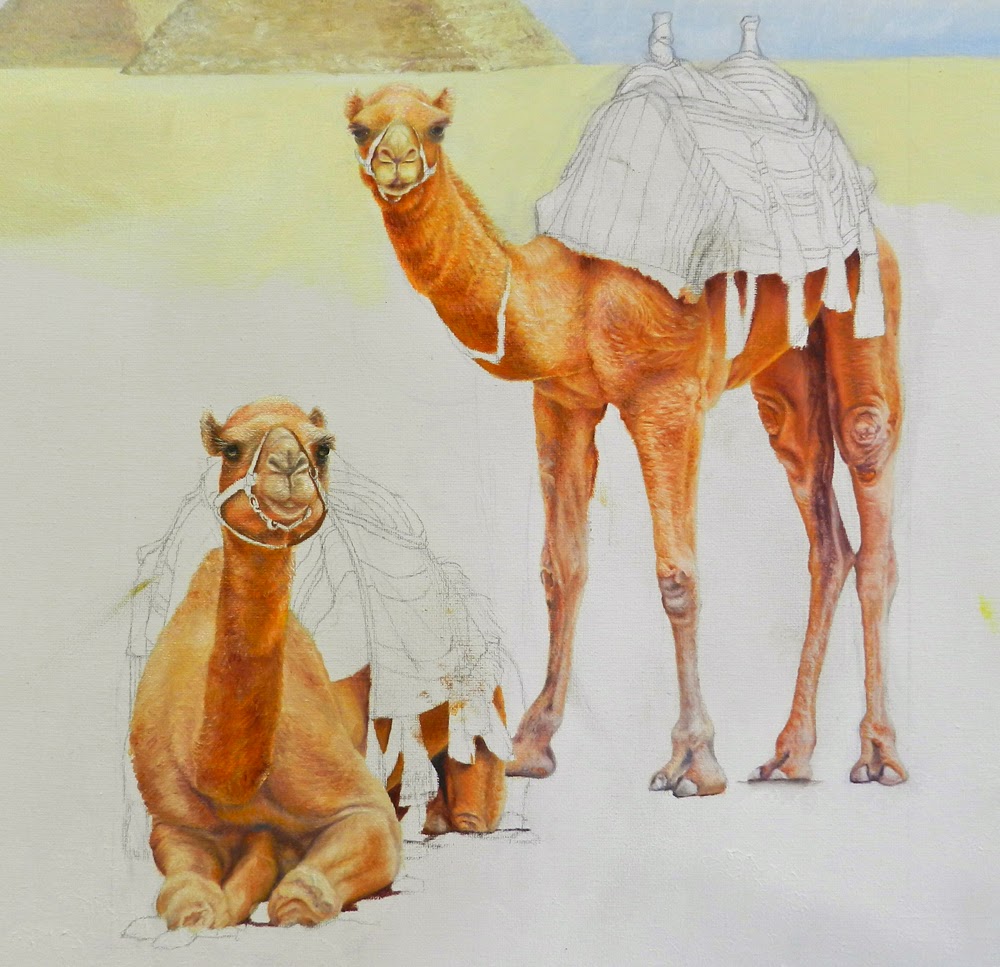
6th Lesson - Camels

Tuesday, 12 February 2013
2nd Lesson - Greek Steps

I have altered the steps at the top of my painting to virtually disappear around the corner. This will help add depth. For the steps I used Cobalt, Cadmium Red, Indian Red and Cadmium Yellow Deep. There is not a lot of detail at this stage and I have feathered off any hard edges with a mix of Cobalt and Cadmium Red. These 2 colours make a dirty purple which is what we want at this stage. The Indian Red was used for the doorway and window shutters. The main aim here is just to keep it very soft, adding more detail and colour as we proceed down the canvas. Don't forget to keep darks dark even though we want them out-of-focus.
Thursday, 7 February 2013
"Mull Of Kintyre"
Loved this photo we took whilst on the Mull of Kintyre last year. A few of the ladies painted it with me on a Wednesday.


11th Lesson - Thatched Cottage
We gave the garden a break this week and painted the thatched roof on the right. I wanted this roof to be out-of-focus so that the viewer looks past the roof and into the garden which is our focal point. Soften the edge of the roof with a very light Tasman Blue mix. After painting the roof with lots of darks and highlights you can gently smooth off any sharp edges by going over the whole roof with a dry, soft brush.
5th Lesson - Camels
Subscribe to:
Posts (Atom)