Welcome to my art blog. I am a professional artist/art teacher. Here you can follow my free art lessons where I give instructions and advice on how to paint in oils. Check out my range of How To Oil Paint books on Amazon & Itunes, Visit my website (www.howtooilpaint.info) where, with my fellow artist Jo, we give more great tips on how to paint with oils.
Showing posts with label Click here for all "Australian Woolshed" lessons. Show all posts
Showing posts with label Click here for all "Australian Woolshed" lessons. Show all posts
Wednesday, 14 May 2014
Lesson No.6 - Painting The Old Watertank
Started brushing in the colours of the watertank. I only use a limited palette, so all my 5 colours were involved. First, I made the tank nice and round with highlights and reflected light. That's the easy part. Next, the corrugations! With a fine brush, "draw" the lines around the tank with a dark purple. Remember to follow the contours of the tank. Drag the dark down into the hollows between the ridges, following the colour of the tank you have already done (e.g. where it is a rusty colour, add a purple mix to make that area a dark rusty colour) and then do the highlights in the same manner. It's a little involved, but with patience you'll get the hang of it.
Sunday, 2 October 2011
Lesson No.11 - The "Renoir Technique" For Painting Trees
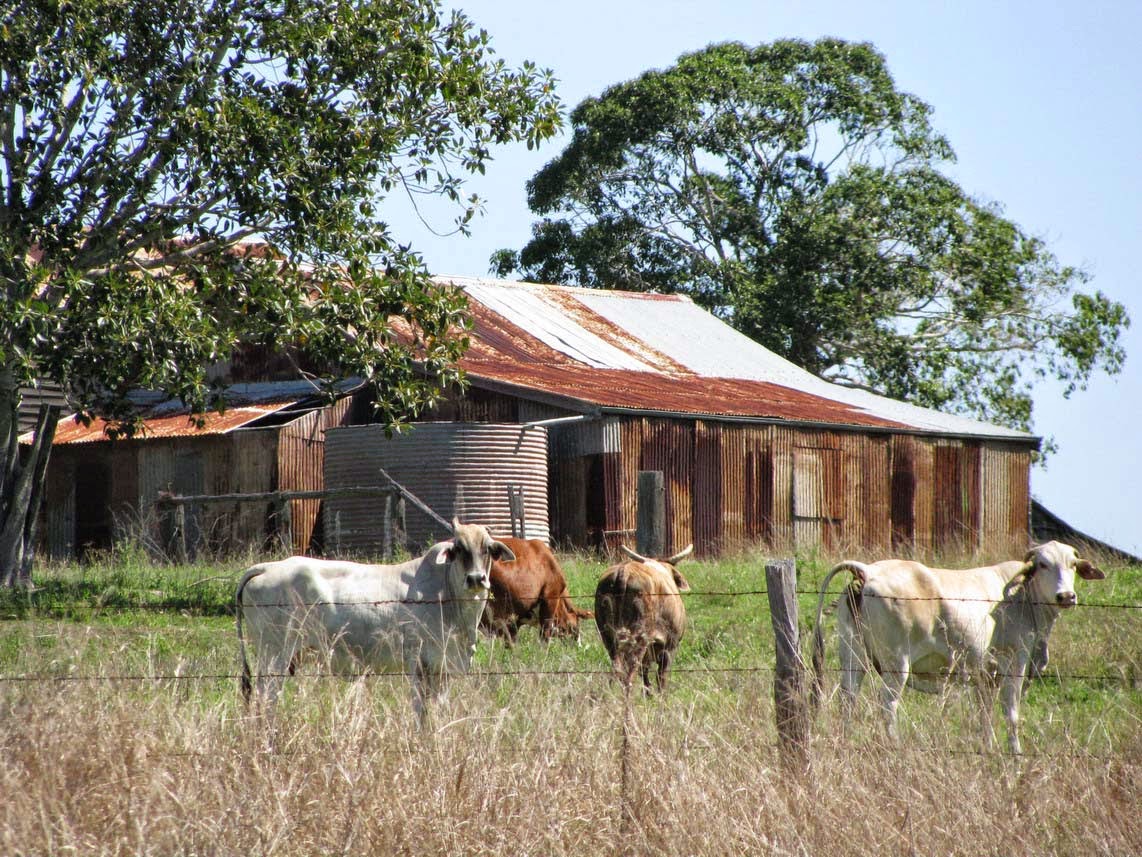
We painted in the large tree in front of the shed starting with darks
and working our way towards the light. We used a Renoir effect on the
leaves - dabbing this way and that - with a loaded soft brush. It was
fun to go crazy. The foreground grass was flicked over the cow's legs
(basically to hide any imperfections as their legs were tricky to
paint). All we need now is a signature!
Thursday, 15 September 2011
Lesson No.10 - Vary Colour, Tone and Brushstrokes for Grass
We've been flicking the grass around with a fine brush by using all different shades of
green, starting with the darks first. The grass helps to soften the
line of the house and tree.
Saturday, 3 September 2011
Lesson No.9 - Filling In The Details
The cows' faces were very detailed because of their size but we used a fine brush and persevered. Here you can add extra highlights and darks for contrast.
Saturday, 20 August 2011
Lesson No.8 - Painting Cows
We are painting one cow at a time. Starting with the darks, I filled in the large shadow areas, then added the highlights and feathered them off into each other for a soft muted look. I can then re-darken, sharpen, highlight and detail where needed. The legs were a bit tricky as they were hidden behind grass, so where it was a bit unclear in the photo, we put in long grass.
Sunday, 5 June 2011
Lesson No.7 - Brushing In The Grass
Time for the grass. I think the lesson here was to be random and quick, adding different greens and tones so that we didn't end up with lawn. Quite a different method from the detailed shed. We used an old bristle brush and brushed upwards in all directions. I also put in some dirty oranges and rusty coloured grass to connect the colours to the shed. Some of my students found it easier to use one of those fan brushes. Have fun and be messy!
Saturday, 30 April 2011
Lesson No.5 - Painting Warm Light and Cool Shadows
This lesson was all about shadow. The left side of the building was in shadow away from the warm sunlight. We painted in soft purple hues with no hard edges. Remember, shadow can still be colourful and detailed - just keep it soft and muted. I like to mix a Ultramarine Blue with Cadmium Red and add that mix to the colour I want in shade. This helps to grey it off so you don't have bright colours.
Saturday, 16 April 2011
Lesson No.4 - Loosen Up And Have Fun!
Everyone found painting the corrugated iron on the woolshed very easy. We used the same colours as for the roof, adding shadows and detail later. We streaked and dabbed, trying to be very rough with our painting so it didn't look too neat. It was fun.
Thursday, 14 April 2011
Lesson No. 3 - Creating Texture in Oils
I like to paint from top to bottom, left to right. So, on to that old rusty roof. It was a mixture of reds, oranges, and dark red-purples. The only tricky bit was to ensure that the angle of the corrugated iron was correct. Texture was important, so we simply scraped and dabbed on the colours.
Wednesday, 6 April 2011
Lesson No.2 - Painting A Distant Tree
We accomplished a lot in this lesson. The sky was painted in Ultramarine Blue and we just added Lemon to the mix to dab in the tree behind the shed. It was easy to feather the tree off into the sky while the paint was wet. Branches were dabbed in a soft purple and highlights to the leaves were added last. The idea was to have a soft out-of-focus effect to give the painting depth.
Monday, 28 March 2011
Lesson No.1 - How To Paint An Australian Woolshed
Subscribe to:
Posts (Atom)
