
Showing posts with label Click here for all "Frog" lessons. Show all posts
Showing posts with label Click here for all "Frog" lessons. Show all posts
Monday, 24 August 2015
Lesson No.21 - Strengthening the Background Hues

Sunday, 9 August 2015
Lesson No.20 - Adding the Last Details to the Frog

With our dark green and a fine brush, we are just dabbing in the lines around the eyes and right side of his nose. A few dabs into the darks (if needed) can be added to emphasise the darks. The highlights can be added as well - a few dots around the nose and eye to indicate some shine on the frog's head.
Thursday, 30 July 2015
We Paint the Nostrils and Ear in Lesson No. 19

The nostrils have to appear as an indent. Put a bit of shadow colour under the top curve to push the hole back into the head. The right one is obscured, so just a bit of shadow on the left side to push it behind the nose. The ear is slightly indented as well, so paint in that dirty orangey colour first, then add a bit of shadow colour to the mix and brush it in around the inside curve.
Thursday, 23 July 2015
Lesson No.18 - How to Paint Objects in the Shade
Saturday, 18 July 2015
Lesson No.17 - Painting in the Shadow Areas.

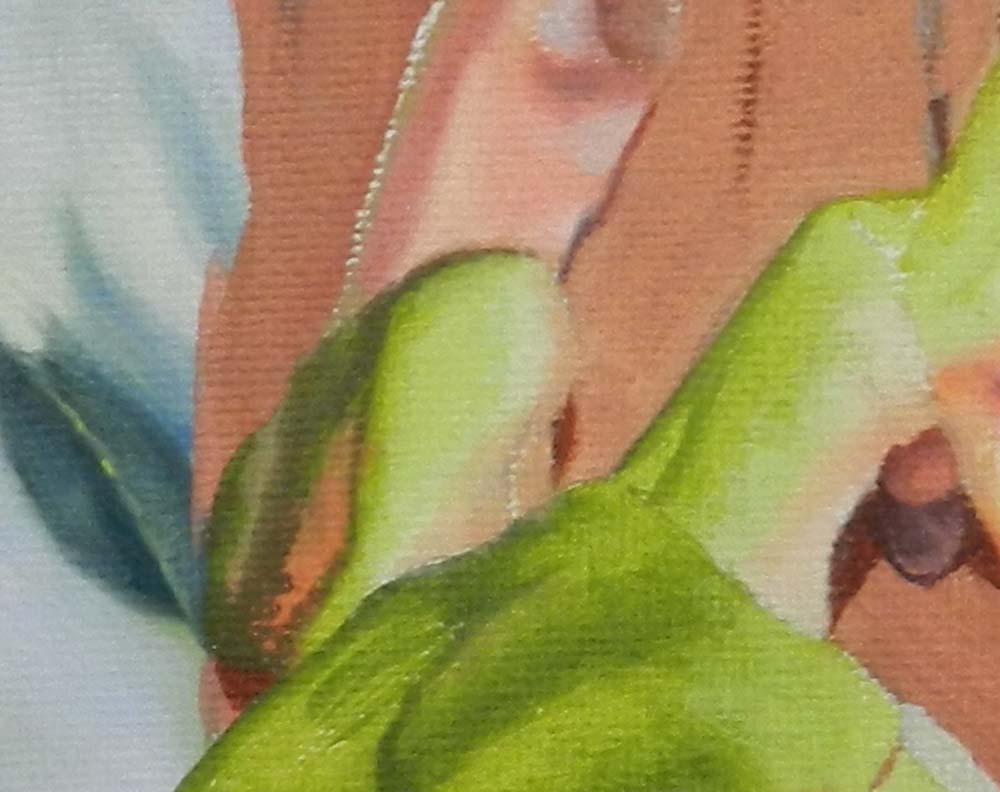
Everything under the frog's head is in shadow. Keeping that in mind, when we mix our colours, add a bit of shadow colour to the mix (Cadmium Red and Ultramarine Blue) to grey off the hue and darken the tone.
Make sure all the areas in your shadows are feathered off and dark enough to lift the head out for that 3D effect.
Thursday, 2 July 2015
Lesson No.16 - Painting the Frog's Underbelly

We'll place our darks in first using Cadmium Red, Cadmium Yellow Deep with a dot of Ultramarine Blue for a dark orange shadow under the frog's head. As you come out into the light we'll add some more Ultramarine and white to our mix for a lighter, greyer tone.
Paint in the folds of his skin with a middle grey colour and darken the creases as they go into the shadow area. Using just your white, add this to the highlighted area in the centre of the creases to create the bulging effect.
Tuesday, 9 June 2015
How to Oil Paint the Frog's Eyes - Lesson No.15

We used Gold and Ivory Black for the eyes. They are the focal point for the whole painting I think. Dab in the gold first with a fine No.1 brush then the black. Gently dab the black back into the wet gold, breaking it up and giving the eye some shadow in the corners. With a clean brush, use the gold again to dab back through the areas you want highlighted. A dot of white in her eye will give her sight. Now she's looking at you!
Friday, 29 May 2015
Lesson No.14 - The Frog's Toes

All of our frog's toes are different shapes and
colours! Start by dabbing in the darks, then
mixing in a bit of white and red as you go. I would suggest you do all of her toes at the same time, as they are very small. I'm using Ultramarine Blue, Cadmium Yellow Deep, Cadmium Red and Burnt Sienna with a No.1 round brush.
Monday, 11 May 2015
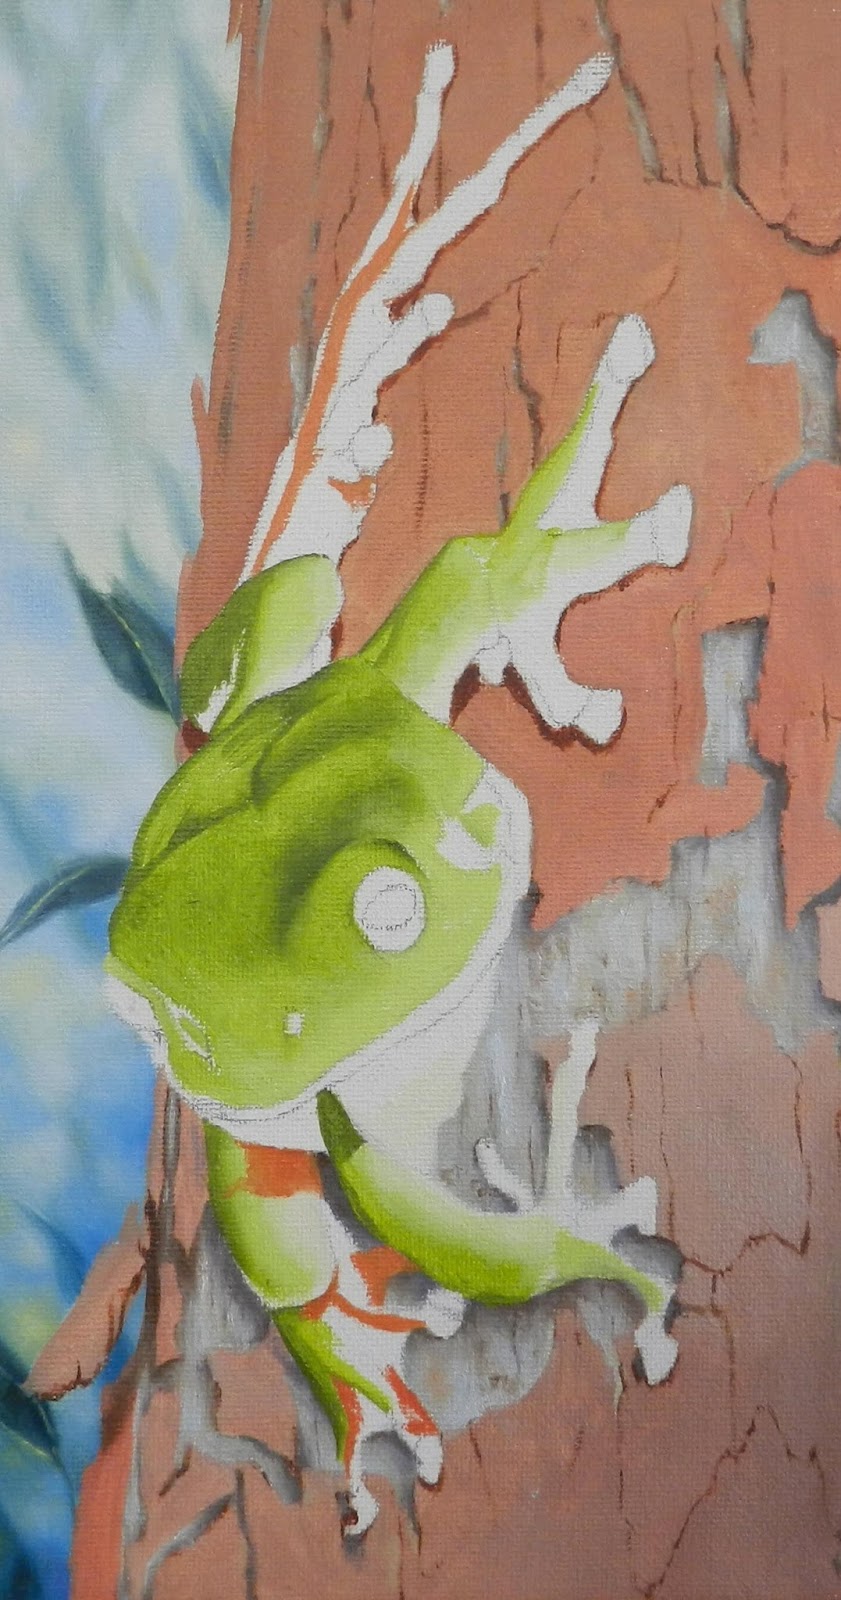
Lesson No.13 - Filling in the Orange Tones
Tuesday, 21 April 2015
Lesson No.12 - Blending in the Different Tones

Sunday, 12 April 2015
Lesson No.11 - How to Paint a Frog

Sunday, 5 April 2015
Keeping the Same Colours Throughout your Painting - Lesson No.10

Tuesday, 17 March 2015
How To Paint Peeling Bark
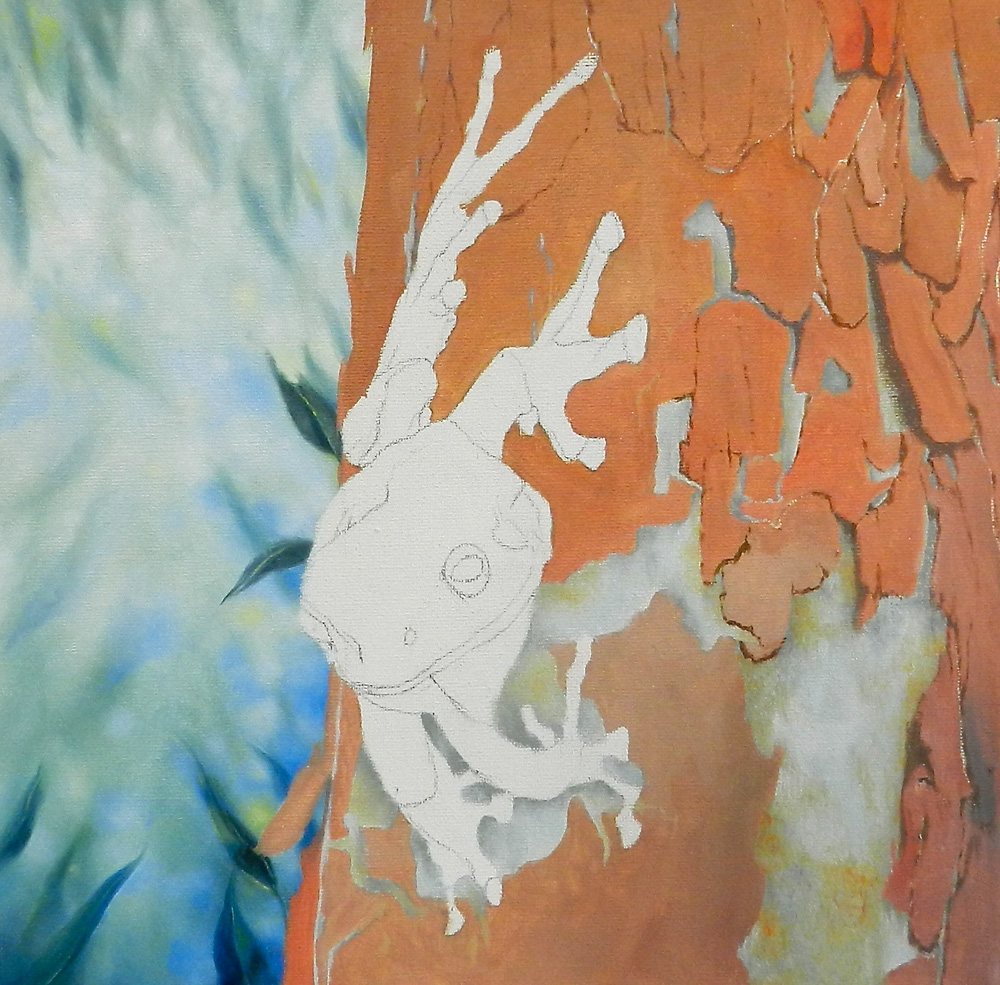
I mixed Cobalt, Burnt Sienna, Cadmium Red and a dot of Cadmium Yellow Deep for a dark red-brown colour. Use a hard line for the cracks, and widen and lighten away from the bark for the peeling effect. Remember there is colour in those shadows under the peeled bark as they bend away from the trunk. Put in extra cracks in the bark as you go. I did the shadows under the frog as well, while I had the bark colours.
Sunday, 8 March 2015
Lesson No.8 - Using The Same Colours but Changing the Tone

We are putting detail into our creamy patches of bark. I used Cobalt, Burnt Sienna, Lemon and Cadmium Red and mixed it with white to make a mid-blue grey. Don't be too neat or precise - I just dabbed and rubbed and then made a lighter and darker tone to feather off into the original mix of grey. I then mixed Cadmium Red and Lemon for an orange to give the patches some colour. Do all the patches now while they are wet.
Friday, 6 March 2015
Are You Happy With Your Background Colours?

Saturday, 28 February 2015
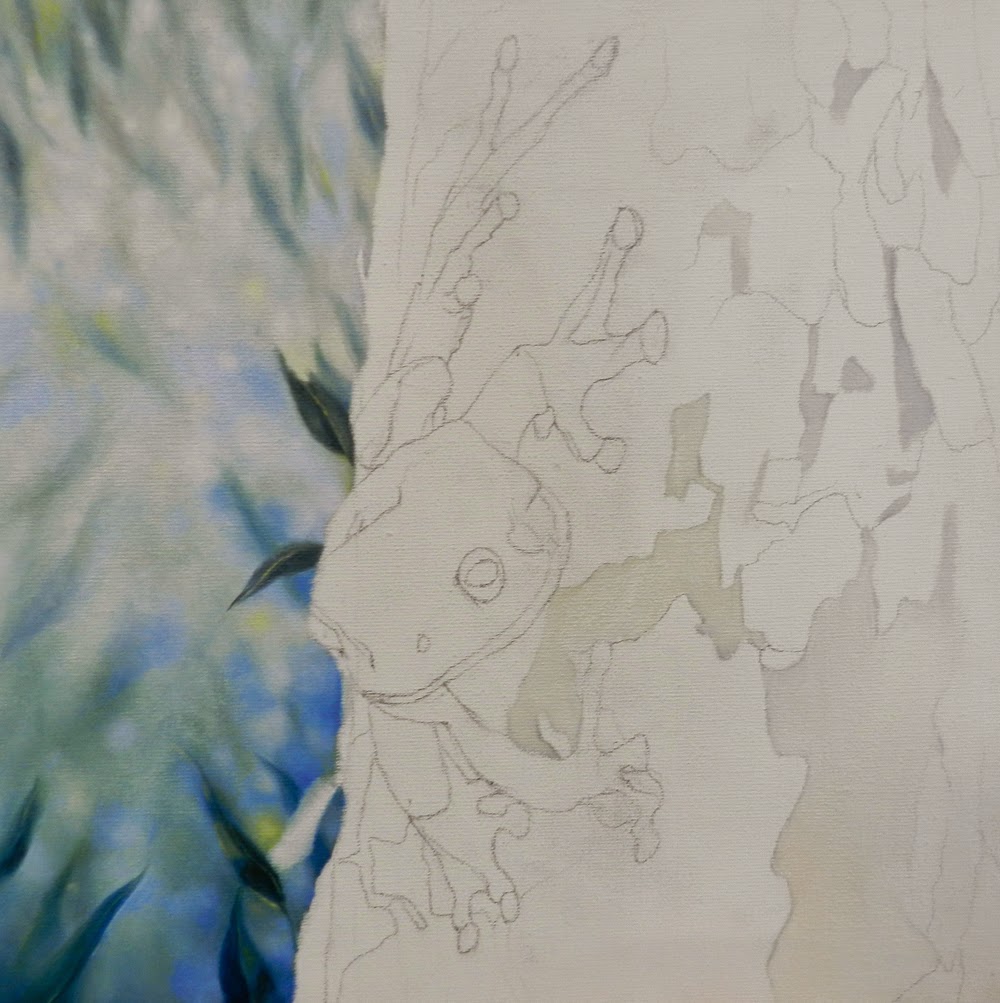
Block out that White Canvas by Using a Turpsy Wash
Tuesday, 17 February 2015
Lesson No.5 - Finishing off the Background

We've just added some extra highlights, darkened some of the foreground leaves and played around with the background to finish it off. Now for the frog!
Saturday, 7 February 2015
Lesson No.4 is on How to Give a Background Depth

Saturday, 31 January 2015
Feathering Off The Background
Tuesday, 20 January 2015
Our Second Lesson is How to Keep That Background Soft!

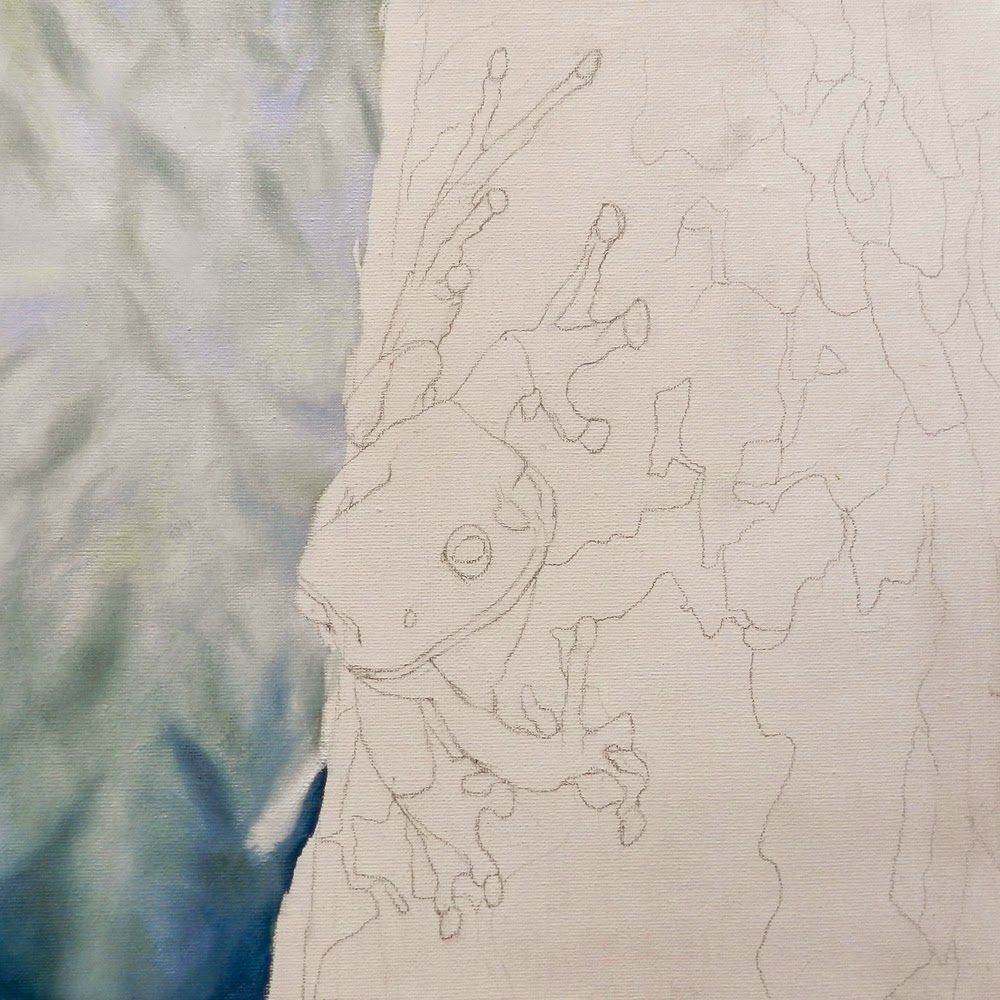
For the background, we are using Cobalt, Lemon, Ultramarine Blue and white. On our palette we mixed up various hues and tones and splodged them onto the canvas. We made it darker down the bottom then filled in the gaps with a light green. As you feather the colours off into each other, you can make leaf shapes. Whatever colour or style you choose for your background, the important thing to remember is to keep it soft and out-of-focus. The frog will be our star and it will be sharp with lots of contrast.
Subscribe to:
Posts (Atom)