Showing posts with label Click here for all "Greek Steps" lessons. Show all posts

Wednesday, 26 June 2013

Greek Steps - Finished


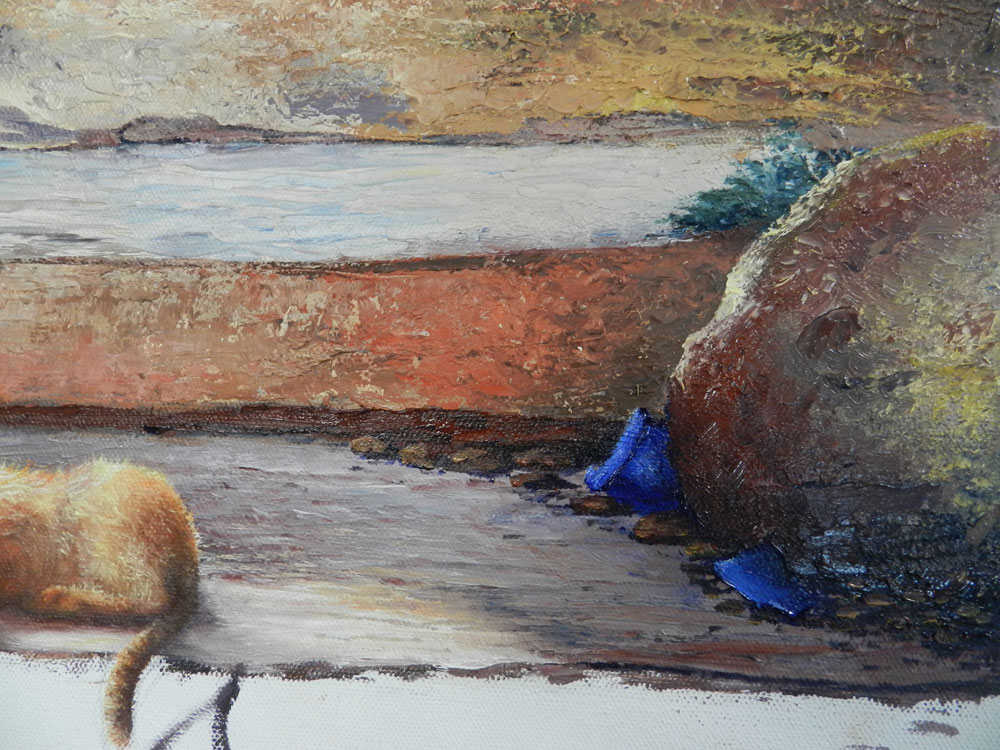
We scattered a few more petals and rocks about to mess it up - it was looking a little too orchestrated.  I ended up repainting the two pots in the background as they were looking very flat.  I gave them more shadow and highlight.  As we used a palette knife for this painting, I might wait for about 6 months before I varnish it.  You want to make sure the paint is dry before you varnish - I usually wait about 3 months but it depends on how thick the paint is. 

Tuesday, 18 June 2013

11th Lesson - Greek Steps

I found some pieces of broken pottery in the garden and added these to the painting.  I used Ultramarine Blue for the outside and Yellow Ochre for the inside of the pieces.  When adding shadows, follow the direction of light in the painting.


Thursday, 30 May 2013

10th Lesson - Greek Steps


We painted in that last big rock.  It is in shadow, so I made up a dark mix of Indian Red, Cadmium Red and Ultramarine Blue and scraped it on with my palette knife.  I then went over it with a lighter mix of Yellow Ochre and Red Gold, this time dabbing with the knife.  I added some pieces of broken pottery with the Ultramarine Blue and blobbed on some rocks to make it look messy.

Saturday, 11 May 2013

9th Lesson - Greek Steps

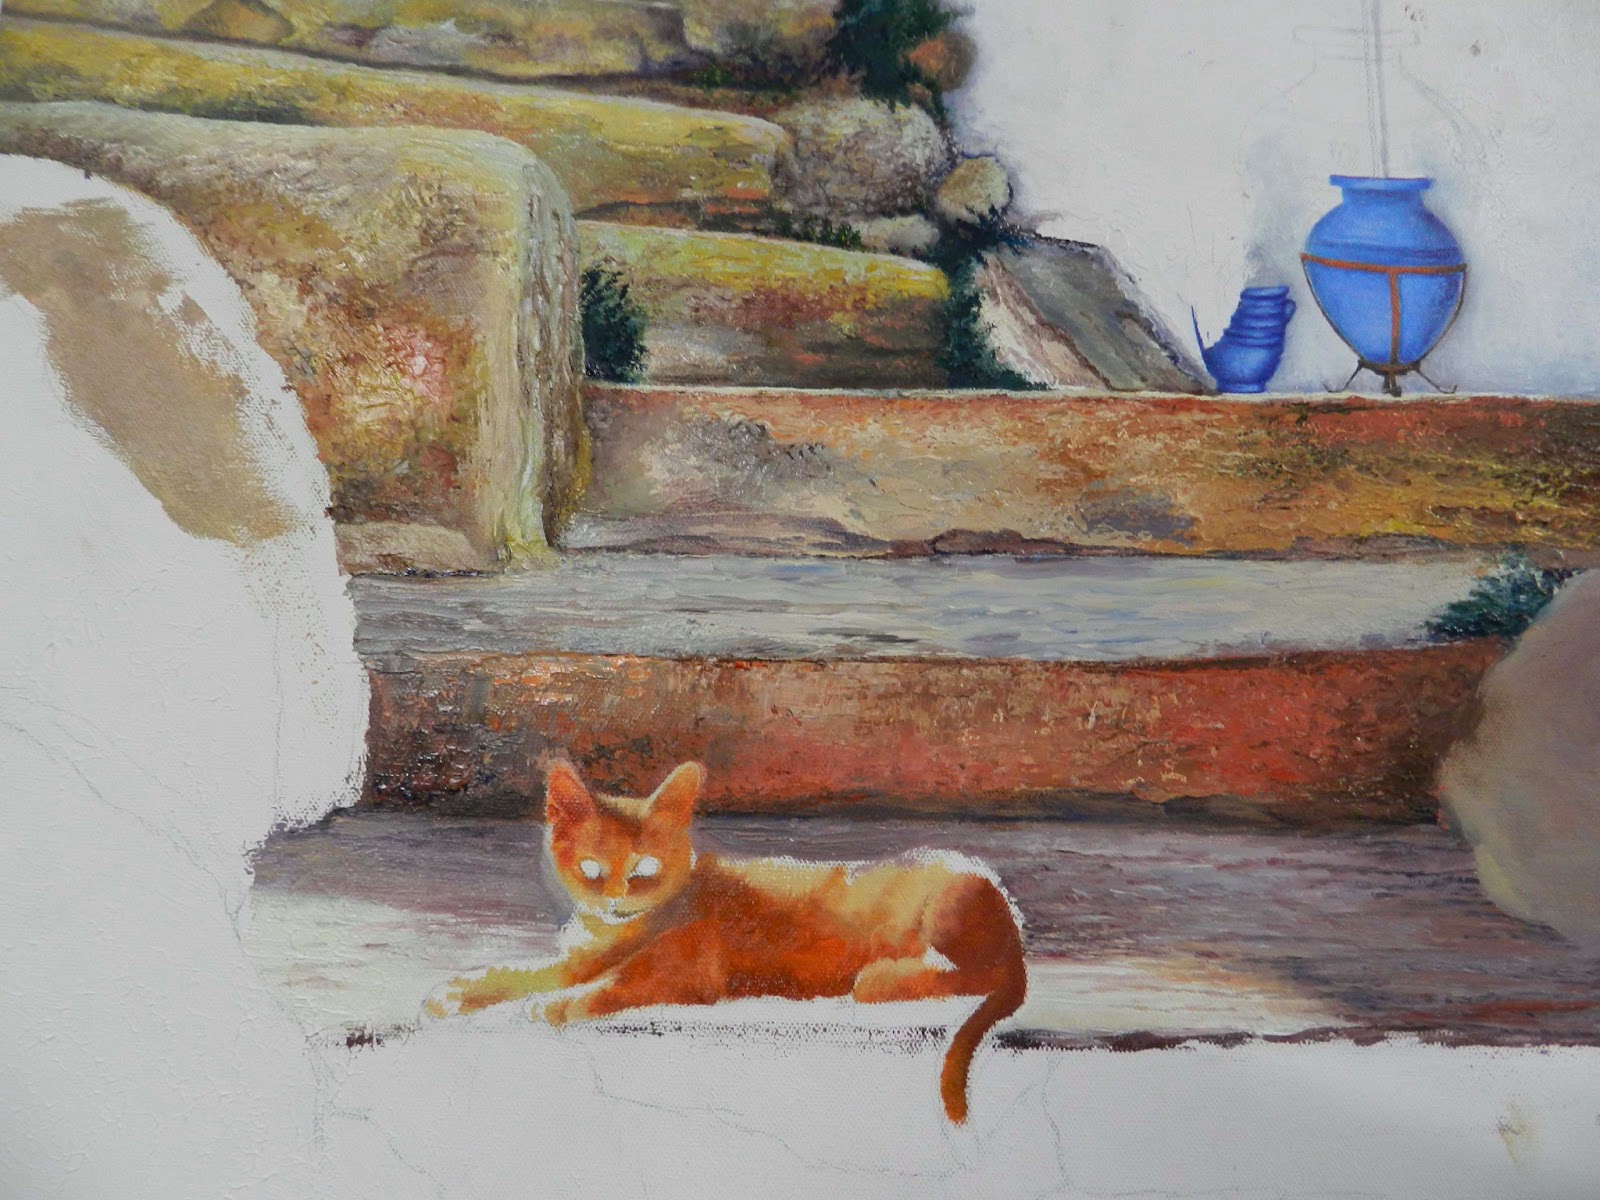
Well, we finished off our cats (we all had different cats to paint).  The light is so strong and has strong shadows and highlights.  Do the highlights in a light orange to yellow colour first before dabbing on a bit of pure white for those final touches.  Remember that the shadows against a strong highlight tend to have more intense colour and are darker, then gradually lighten up away from the shadow.  Therefore, in this case, you have your highlight at the edge, then strong dark orange shadow, then a lighter less intense, purple-orange as you paint away from the edge.


Monday, 6 May 2013

8th Lesson - Greek Steps


Just to finish off the bougainvillea and give the painting some cooler colours, I have painted in the greens.  Add the dark greens first then give them highlights.  Some of the leaves can be completely in shadow, especially on the right-hand side, and others in light.  I added more greens to the pots and put more highlights on the plants around the steps.

Monday, 15 April 2013

7th Lesson - Greek Steps

Thought we'd try and sort out what to do with the blank white wall.  I decided to fill it with bougainvillea.  I painted in the branches first, to get an idea of where I wanted the flowers.  The flowers were then dabbed in straight from the tube of Scarlet.  I then darkened the Scarlet with some Ultramarine Blue and dabbed that into the right side of the flowers for shadow.  I highlighted the left side of them with a little bit of Scarlet and white mix.  I wanted them to sit into the wall better, so I mixed a soft purple colour and dabbed around the edges of the flowers with this, mainly on the right-hand side.


Thursday, 14 March 2013

6th Lesson - Greek Steps

I gave the steps a break and played around with some pots.  I wanted a contrasting colour to the steps, so I chose a cobalt for the pots.  Even though the pots are in the shade, they still need shadow and highlights.  Give them soft edges by darkening the wall behind them so that they nestle into the painting rather than stick out.  I left them and brushed in some colours for the cat.  I used Cadmium Red Light and Light Red and some Cadmium Yellow Deep.  I haven't finished the cat yet - I've just brushed in the different tones and tried to work out where the dark shadows lie.  Now I can see that I need more contrasting colour around the cat to break up the warm oranges - maybe another pot, or more greens?


Thursday, 28 February 2013

5th Lesson - Greek Steps

Well, we're continuing on down the steps using our palette knife and fine-tuning areas with a wide, flat brush.  You can see, even in the photo below, how thick the paint is.  It gives the painting depth and texture without you trying too hard!  I have gone around the cat with a brush so that the paint is thin on the edges.  If you leave a thick edge and try to paint over it, it may crack later when dry.


Sunday, 24 February 2013

4th Lesson - Greek Steps

I think the focal point of this painting is the colour and texture of the steps.  So as we move  forward into the foreground, I am going to use a palette knife.  Using the same colours, I scoop a knife-ful of premixed paint (dark colours first) and literally scrape the paint horizontally across the step.  One step at a time is a good idea at this stage.  Next I mix the colours on my palette very loosely, so that when I scrape the next shade (lighter colours) across the step, the colours aren't quite blended and appear patchy, which help to increase interesting detail on it's own.  Once that is done, you can use your wide flat brush to smooth out some parts, add a bit of an edge to the top of the step, or just blend in bits that you think might be too sharp at this stage.  Have fun!


Thursday, 21 February 2013

3rd Lesson - Greek Steps

We are just continuing on down the steps, making them a little more detailed, a little more colourful and a little bit sharper!  We are also applying the paint thicker as the next lesson will involve using a palette knife, and we don't want the sudden jump from thin paint to impasto.


Tuesday, 12 February 2013

2nd Lesson - Greek Steps


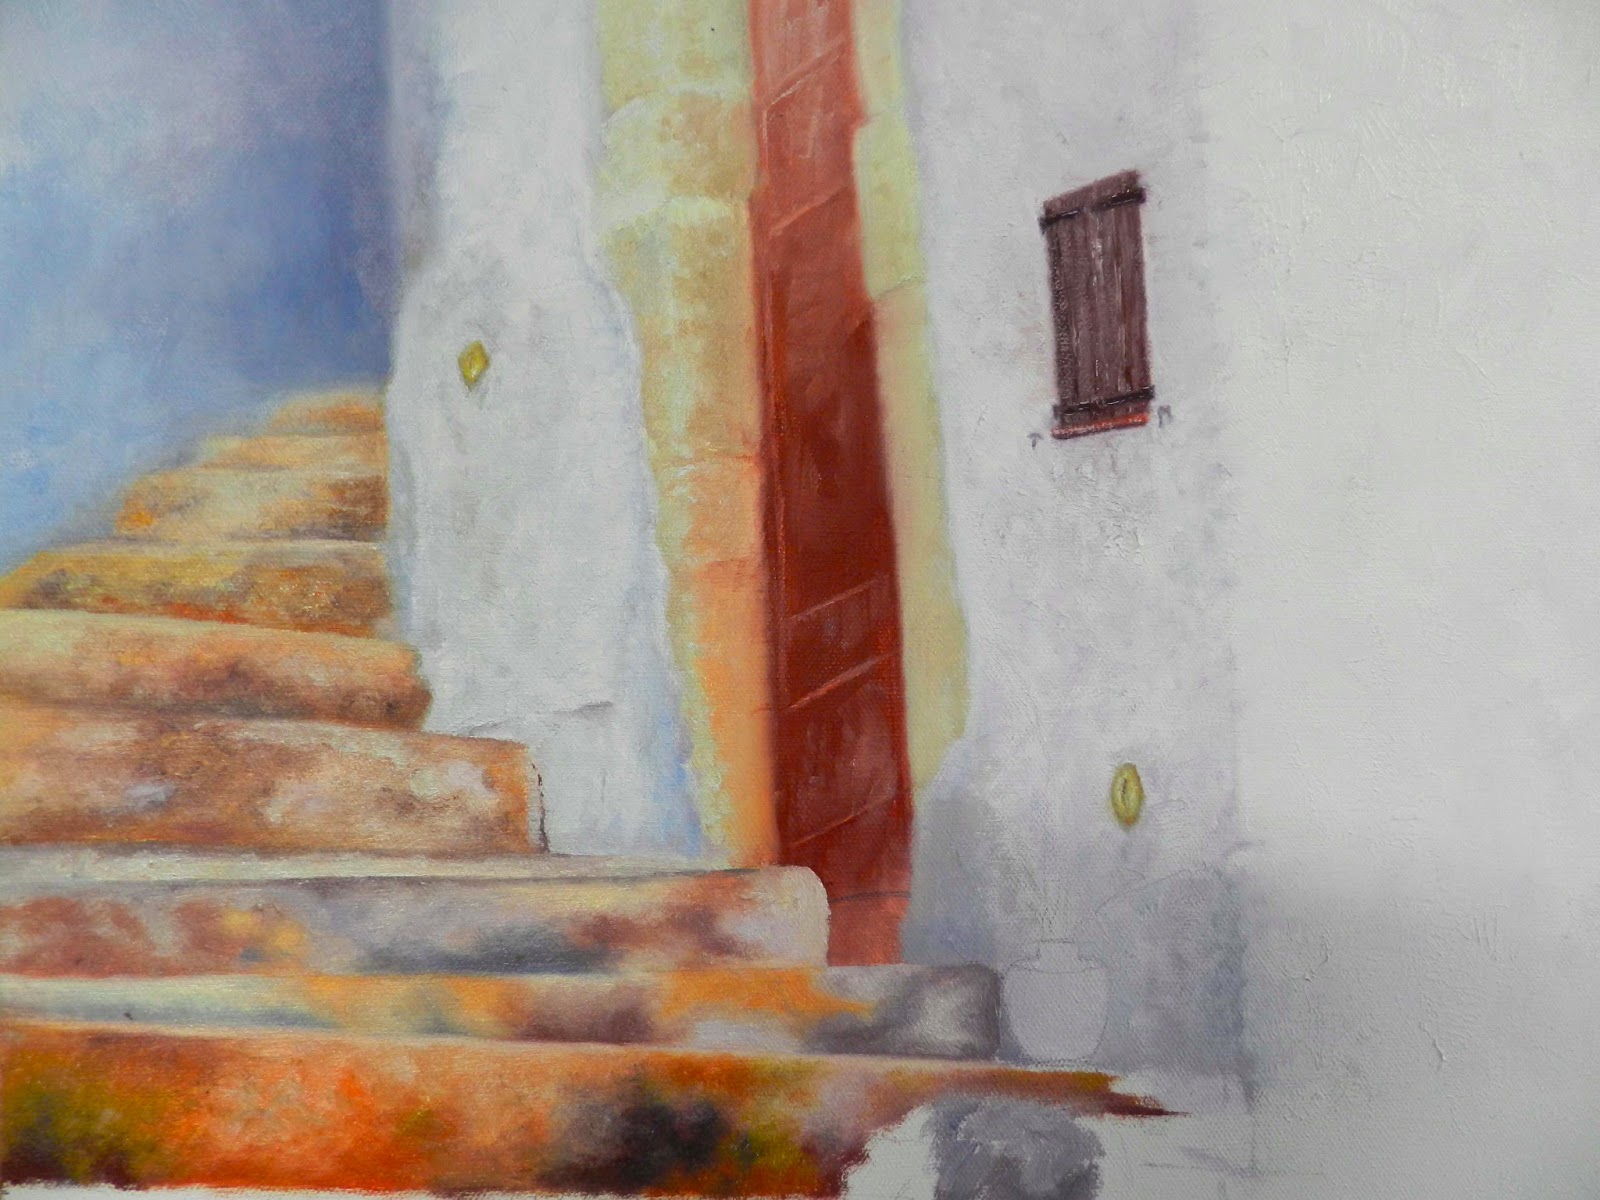
I have altered the steps at the top of my painting to virtually disappear around the corner.  This will help add depth.  For the steps I used Cobalt, Cadmium Red, Indian Red and Cadmium Yellow Deep.  There is not a lot of detail at this stage and I have feathered off any hard edges with a mix of Cobalt and Cadmium Red.  These 2 colours make a dirty purple which is what we want at this stage.  The Indian Red was used for the doorway and window shutters.  The main aim here is just to keep it very soft, adding more detail and colour as we proceed down the canvas.  Don't forget to keep darks dark even though we want them out-of-focus.

Tuesday, 29 January 2013

Some of my Greek photos from Santorini and Rhodes


1st Lesson - Greek Steps

Everyone wanted to do a larger size painting this time, so we chose a theme that would suit the bigger canvas.  The canvas is 40cm wide by 77cm high with double thick edges.  I found a few Greek photos of mine and put some of them together to create our own individual paintings, using our imagination as well.  So, we all roughly drew in the steps and added pots, cats etc.


Time to paint.  Start from the top making sure that any detail is out-of-focus.  We want those steps to virtually disappear up and out of the painting.  I'm using Cobalt and Cadmium Red for the shadows to start with.  It makes a dirty purple - we don't want any bright colours at this stage.