Welcome to my art blog. I am a professional artist/art teacher. Here you can follow my free art lessons where I give instructions and advice on how to paint in oils. Check out my range of How To Oil Paint books on Amazon & Itunes, Visit my website (www.howtooilpaint.info) where, with my fellow artist Jo, we give more great tips on how to paint with oils.
Showing posts with label Click here for all "Chicken" lessons. Show all posts
Monday, 9 November 2015
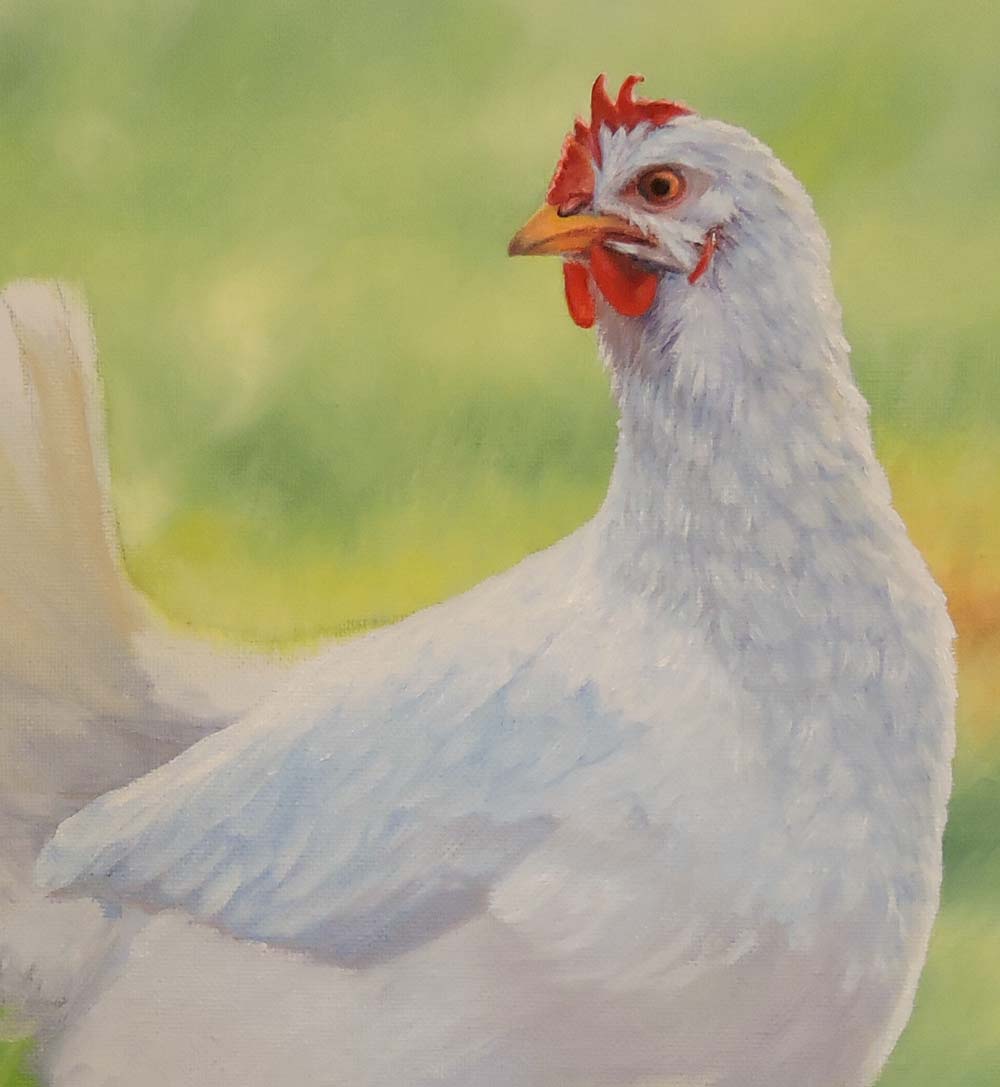
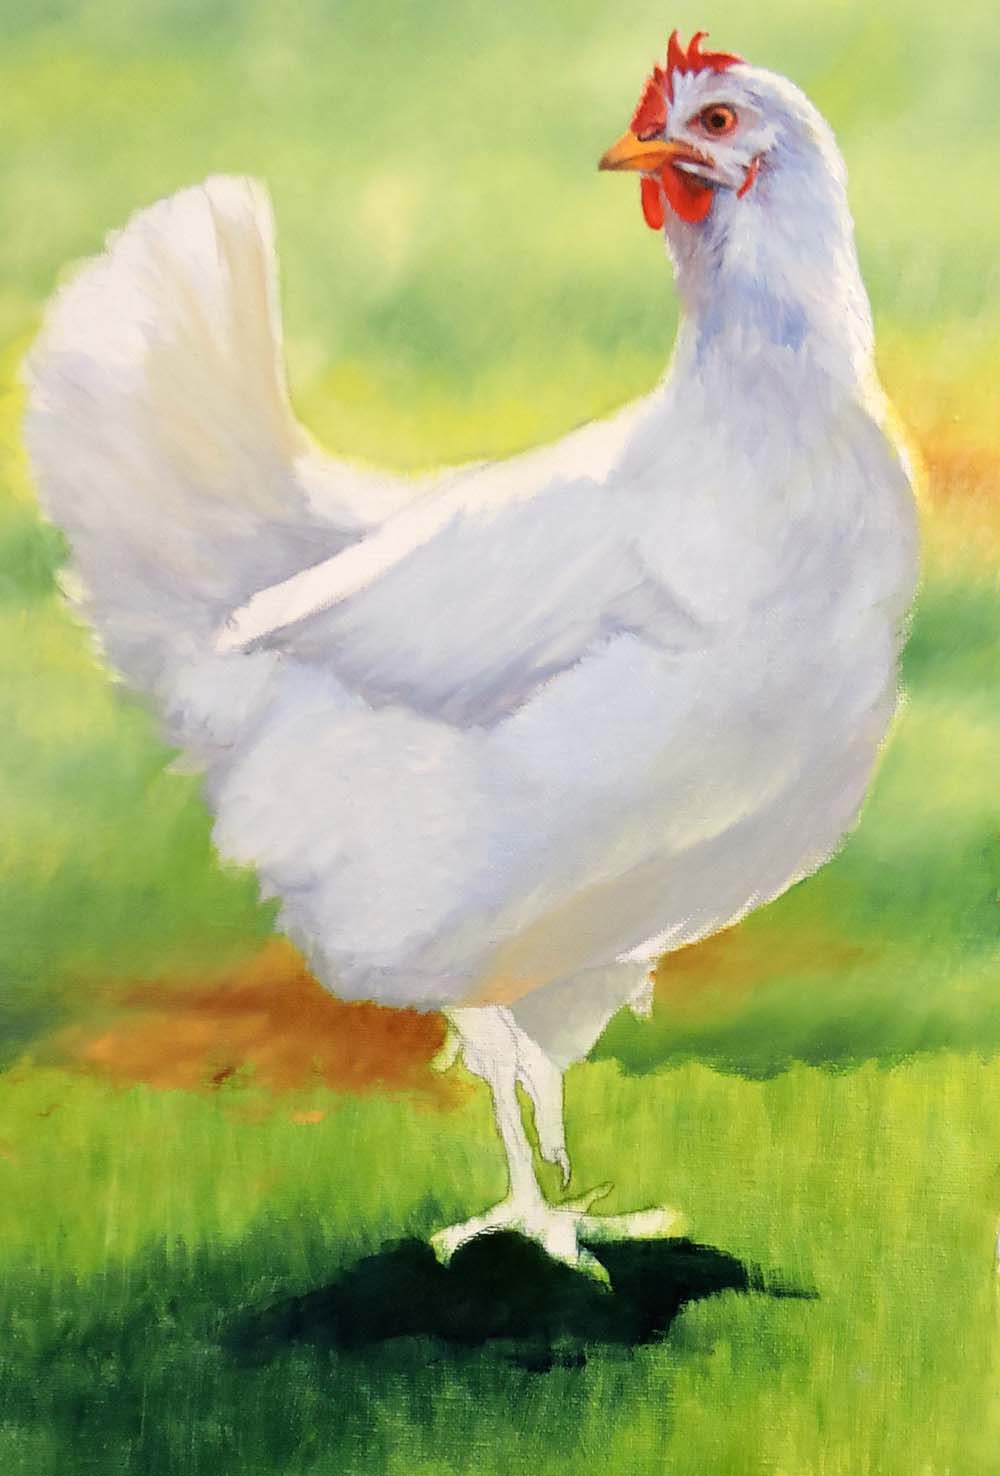
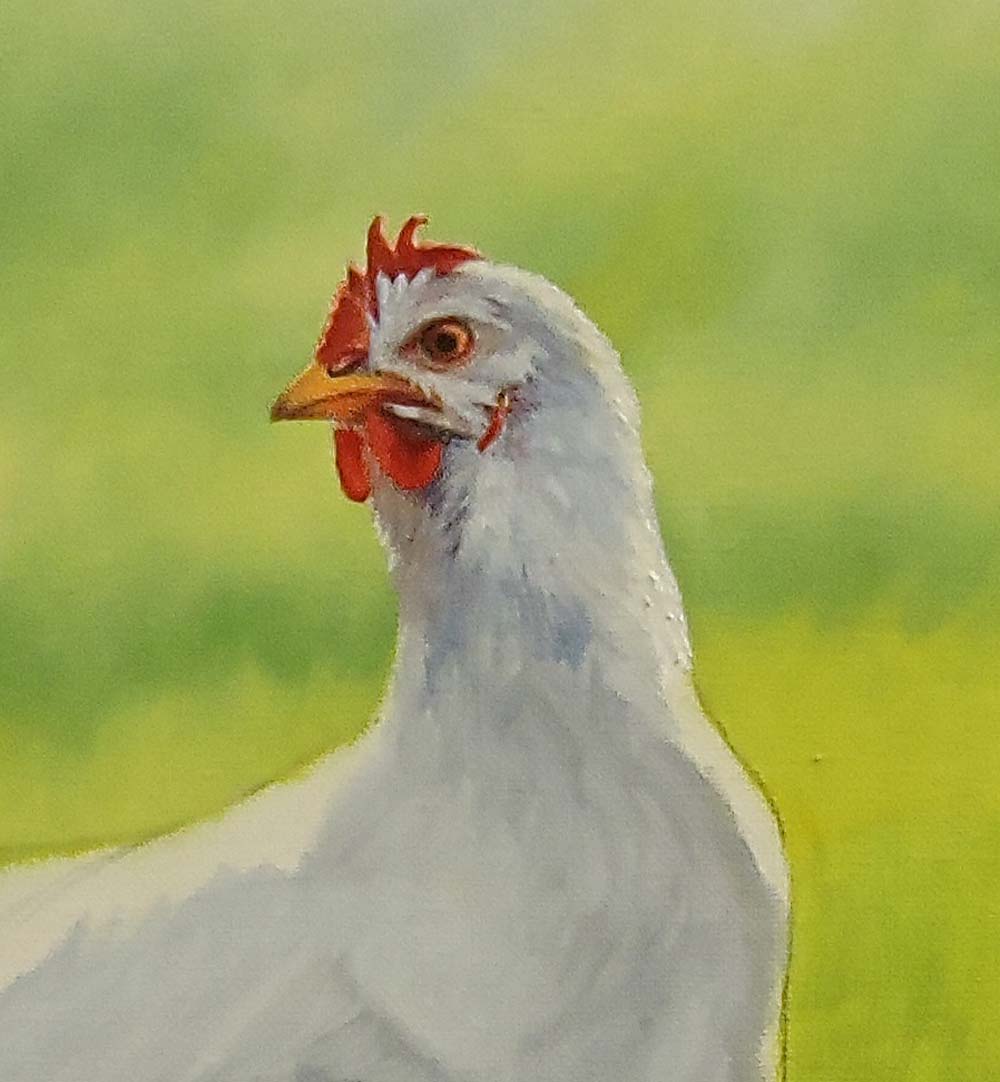
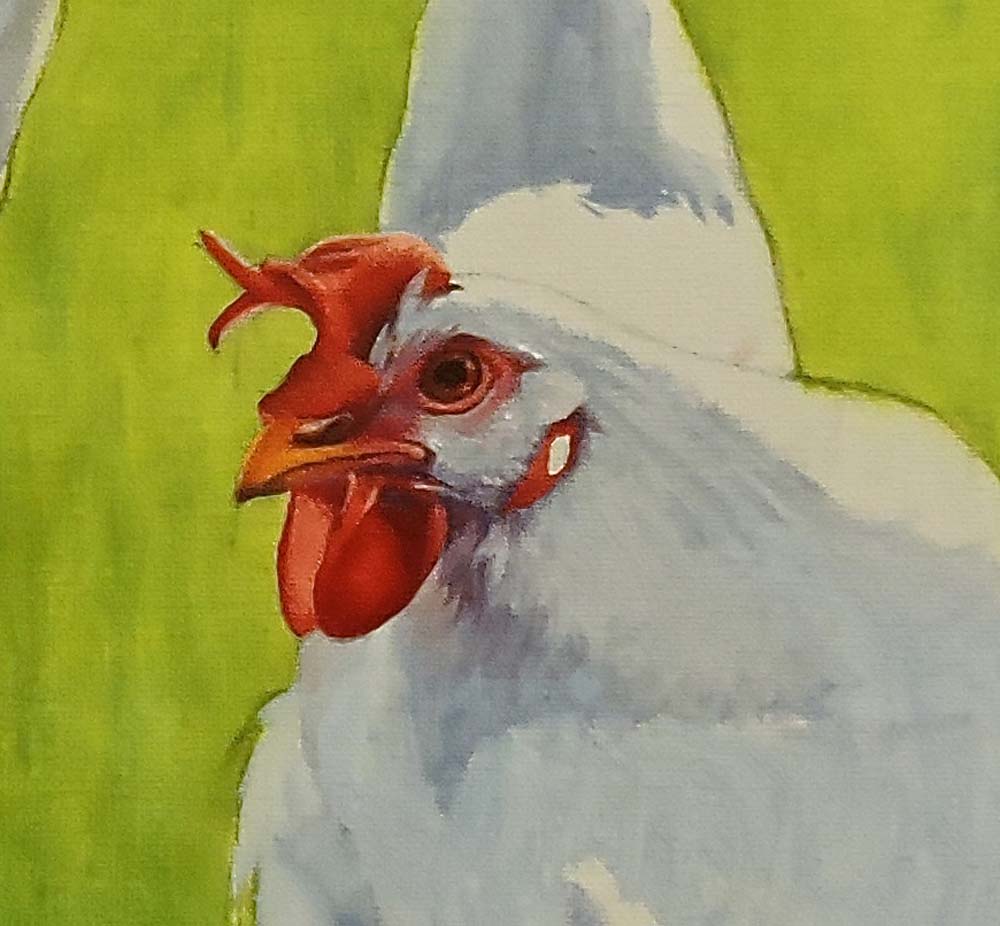
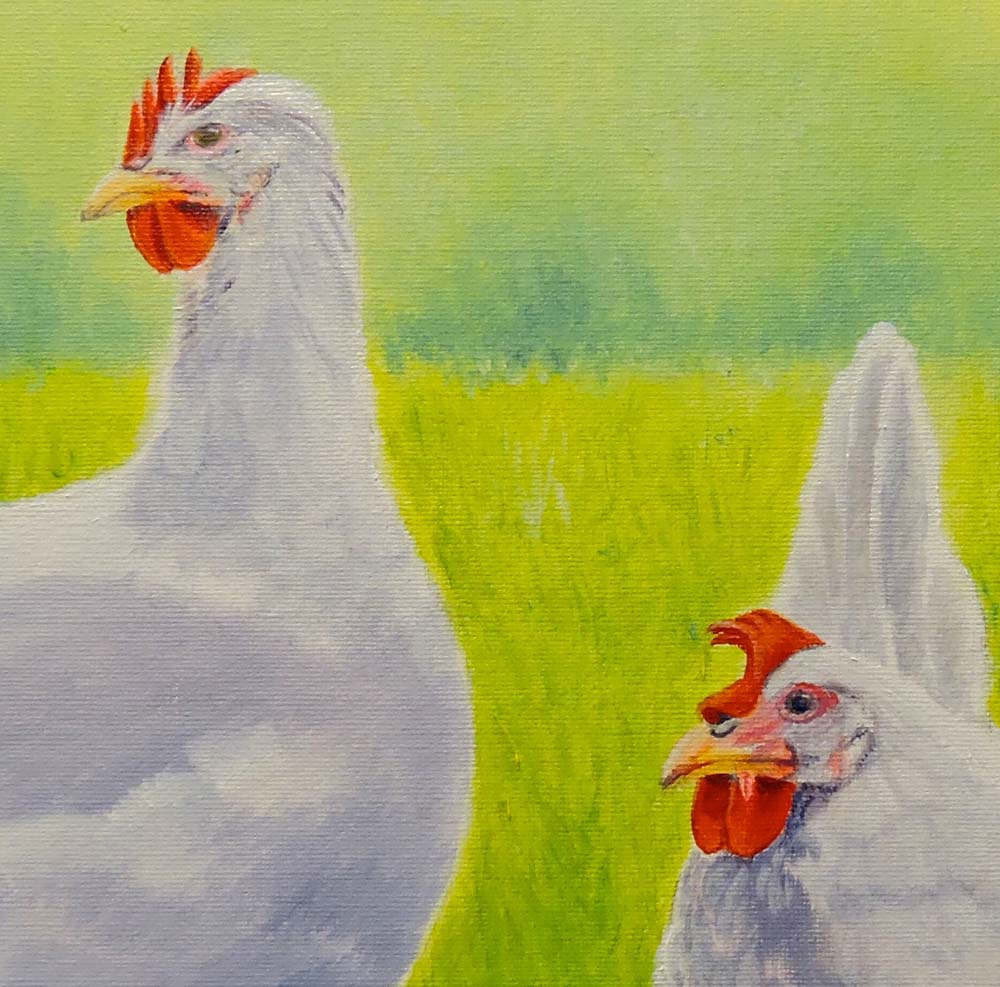
Final Lesson - How to Oil Paint Chickens "Ricca and Donna"
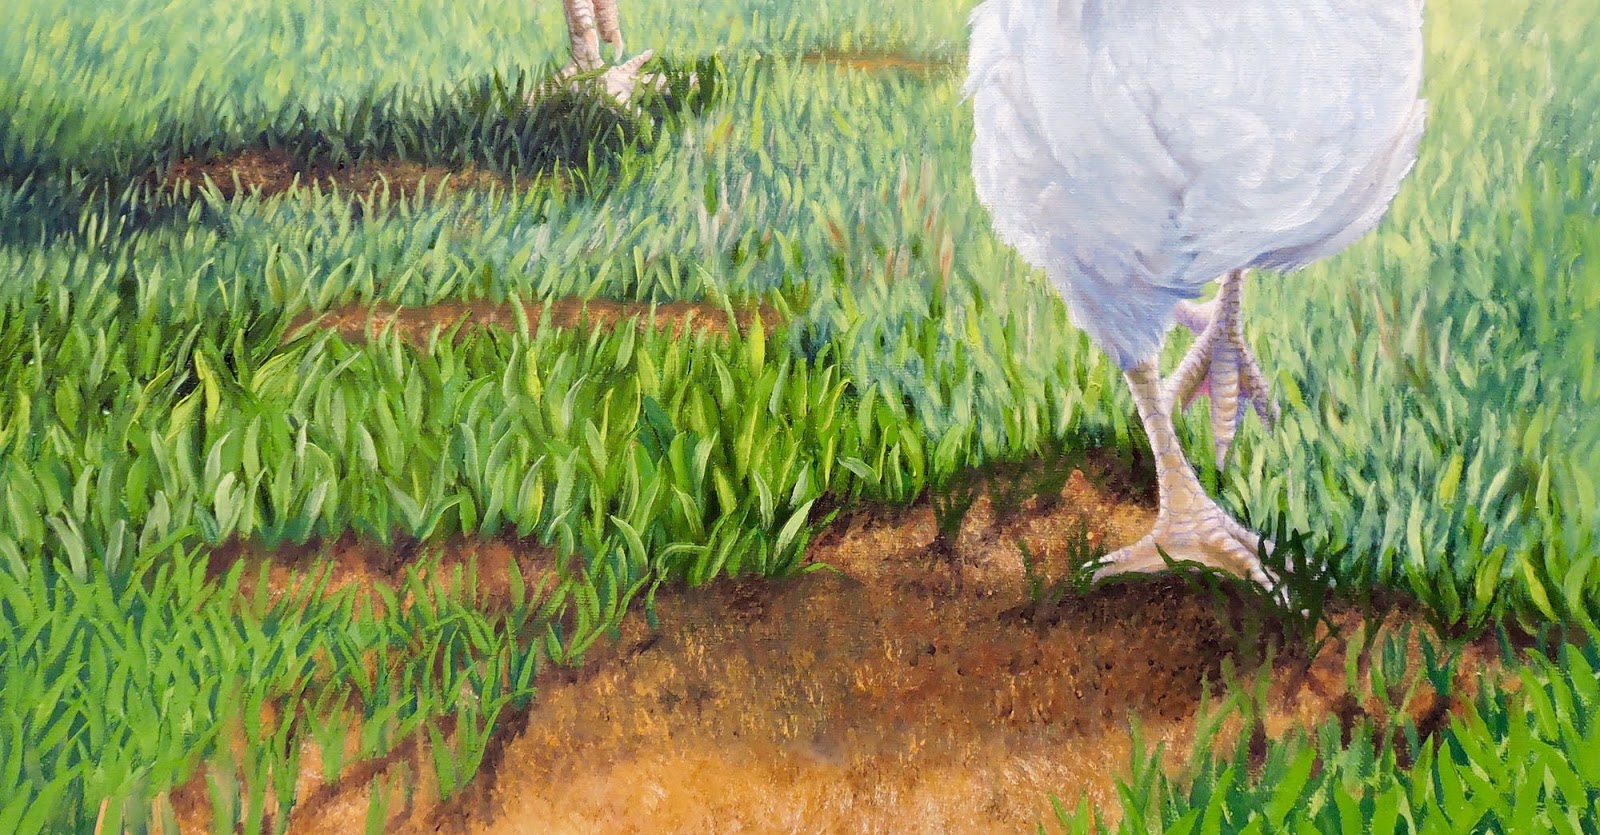
I fiddled around with the grass and dirt a bit more, adding extra highlights in the sunny areas and darker darks in the shadows. Another oil painting lesson completed - I hope you were as happy with your chickens as we are with ours!
Tuesday, 3 November 2015
Creating Depth in Your Grass is Lesson No.15
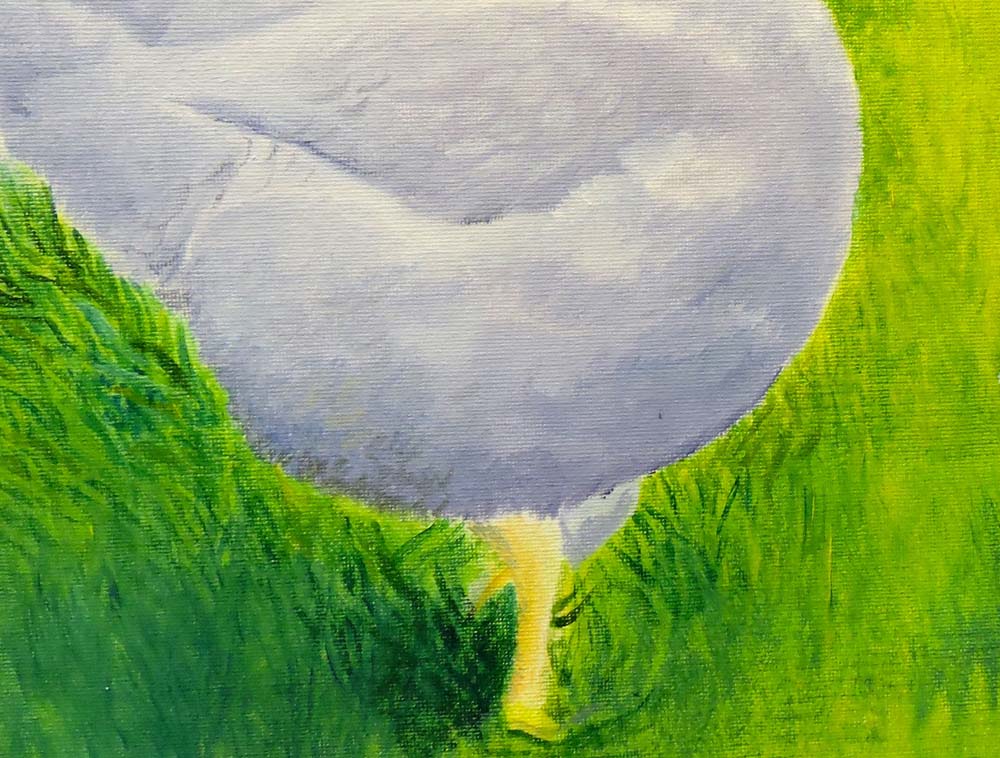
Our painting is set late in the afternoon as the shadows of the chickens indicate. This also applies to the grass. As it nears the forefront of our painting, it will be darker where the grass meets the dirt. So I darkened all the blades of grass that are visible to the viewer with a dark green and feathered this off into a very dark brown to meet the dirt. I added a few tufts of grass over the chicken's feet in dark green where they are in the chicken's shadow.
I also flicked more light yellow-green highlights here and there to the grass in the sun to emphasise the light. Nearly there. Just a bit more detail to the dirt and we're done.
Monday, 26 October 2015
Lesson No.14 - How to Make Shadows Realistic
We need to anchor these chickens to the ground, so the shadows are quite important. The grass in the shadow area is darker directly under the chicken and lightens up as it moves away from the object. You still need darks and highlights within the shadow but the colours will be muted, darker overall and soft with no hard edges.
Monday, 19 October 2015
Lesson No.13 - Painting Ricca's Feet
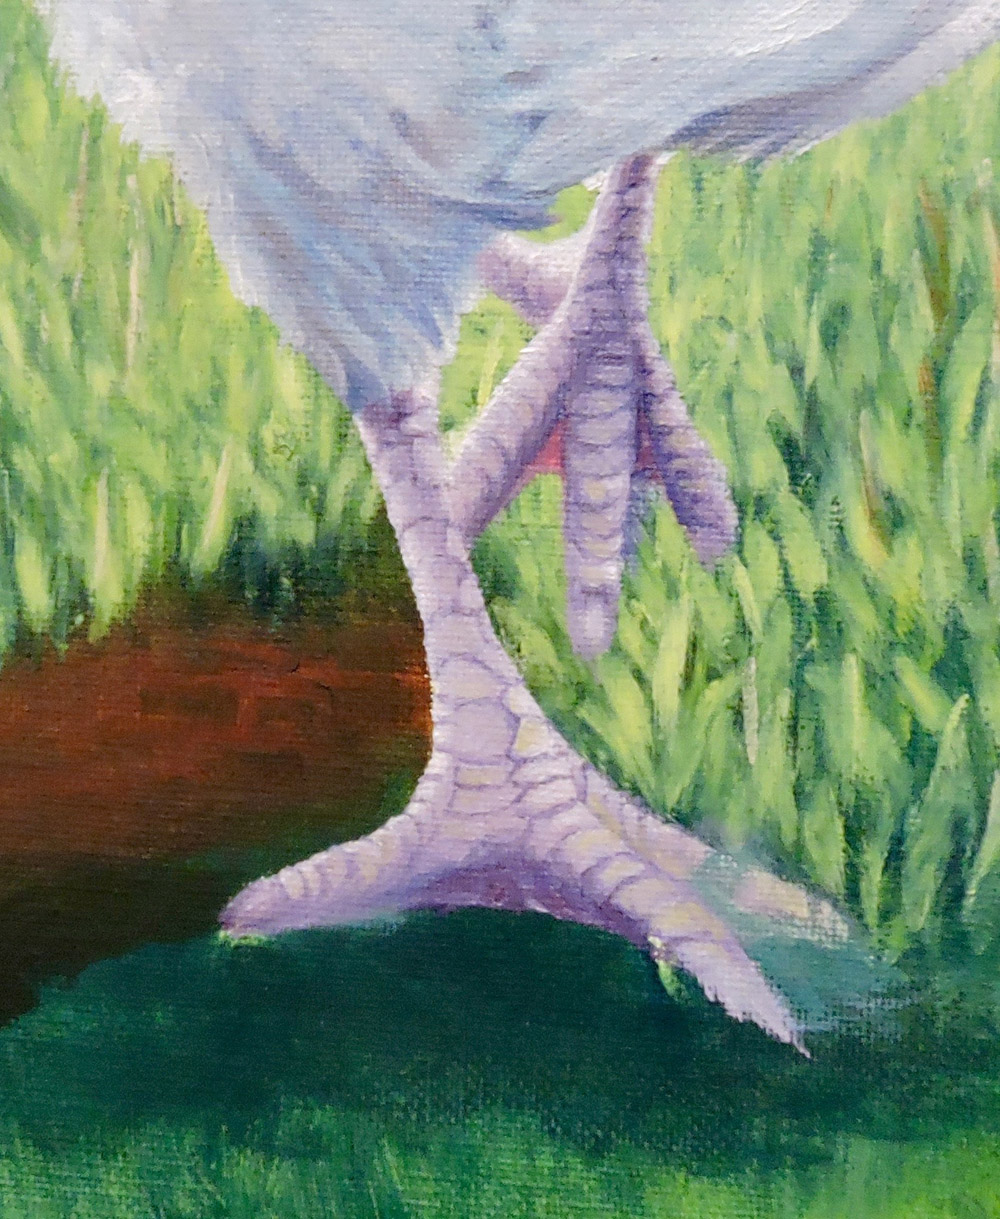
I used a more purple mix for Ricca who is the closest to the viewer. Therefore the shadow isn't as dark or sharp. A light mix of Cadmium Red with a dot of Cobalt was used for the highlight in the webbed part of the foot at the back. I will be covering a lot of her feet with grass, so I didn't paint in too much detail for the toes.
Friday, 18 September 2015
Lesson No.12 - Ricca's Tail Feathers
Remember your light source when doing these chickens. It's coming from behind, so with Ricca, most of the shadow area is facing the viewer. The tail then should be fairly dark, which will strengthen the white highlight that edges the feathers. I'll probably reinforce the highlights again when it is dry with just white paint.
Looking good Jo!
Looking good Jo!
Friday, 28 August 2015
Lesson No.9 - Working from Light to Dark
I painted the white parts of the tail first, going around the whole edge with a fine brush, brushing in the actual feathers as they contrasted against the background. I then broke up the tail area with sections of the orange light. Next came the slightly darker purples, then the real darks to further break up the feathers. It still needs a bit of tweaking but my colours started to become a little muddy, so I'll leave it till next week.
Friday, 21 August 2015
Lesson No.8 - Adding Detail to the Background Grass
Yes I've gone back to the grass in the background. As you come forward, you need more contrast and more detail. Make sure the grass is very dark under the feet so that they are in the grass and don't appear to be hovering over it. I'm adding more colour too - more dirt (using Burnt Sienna) and light blue highlights.
Friday, 14 August 2015
Lesson No.7 - Making Those Feathers Appear Real
We're back to painting the chickens' feathers today. So working from the head, down the neck and into the wing, I brushed in the darks first (leaving white canvas for the highlights on her front and back). I then dabbed in the feathers with a lighter mix, using a scalloping effect. Lastly, using just white and a fine brush, "feather" off the individual feathers at the top into the darks so that they appear to be coming out from under the top feather. If it starts to become too muddy and wet, leave it for next week and move on.
I'm also changing the colours slightly as I go - more bluey-purple for the top of the bird and a bit more red-purple underneath.
You can clearly see Jo's scalloping on the neck and wing here.
I'm also changing the colours slightly as I go - more bluey-purple for the top of the bird and a bit more red-purple underneath.
You can clearly see Jo's scalloping on the neck and wing here.
Friday, 7 August 2015
Lesson No.6 - Adding Colour and Tone to the Background
I know we started with the chickens' heads in the last lesson, but we decided to do more of the background today. It wasn't for any reason really except I do like to finish the background first. I added more colour in the form of dirt to the grass - my canvas is quite large so there is a lot of green! I used Ultramarine Blue, Cadmium Red and Cadmium Yellow Deep for the dark brown, then highlighted the patches with just the red and yellow and white. Feather it all off softly, using a criss-cross action with a soft, flat big brush.
Jo is making the grass around the chook's feet sharper by adding more contrast - darker darks and lighter highlights.
Monday, 3 August 2015
Lesson No.5 - Re-working the Chicken's Heads
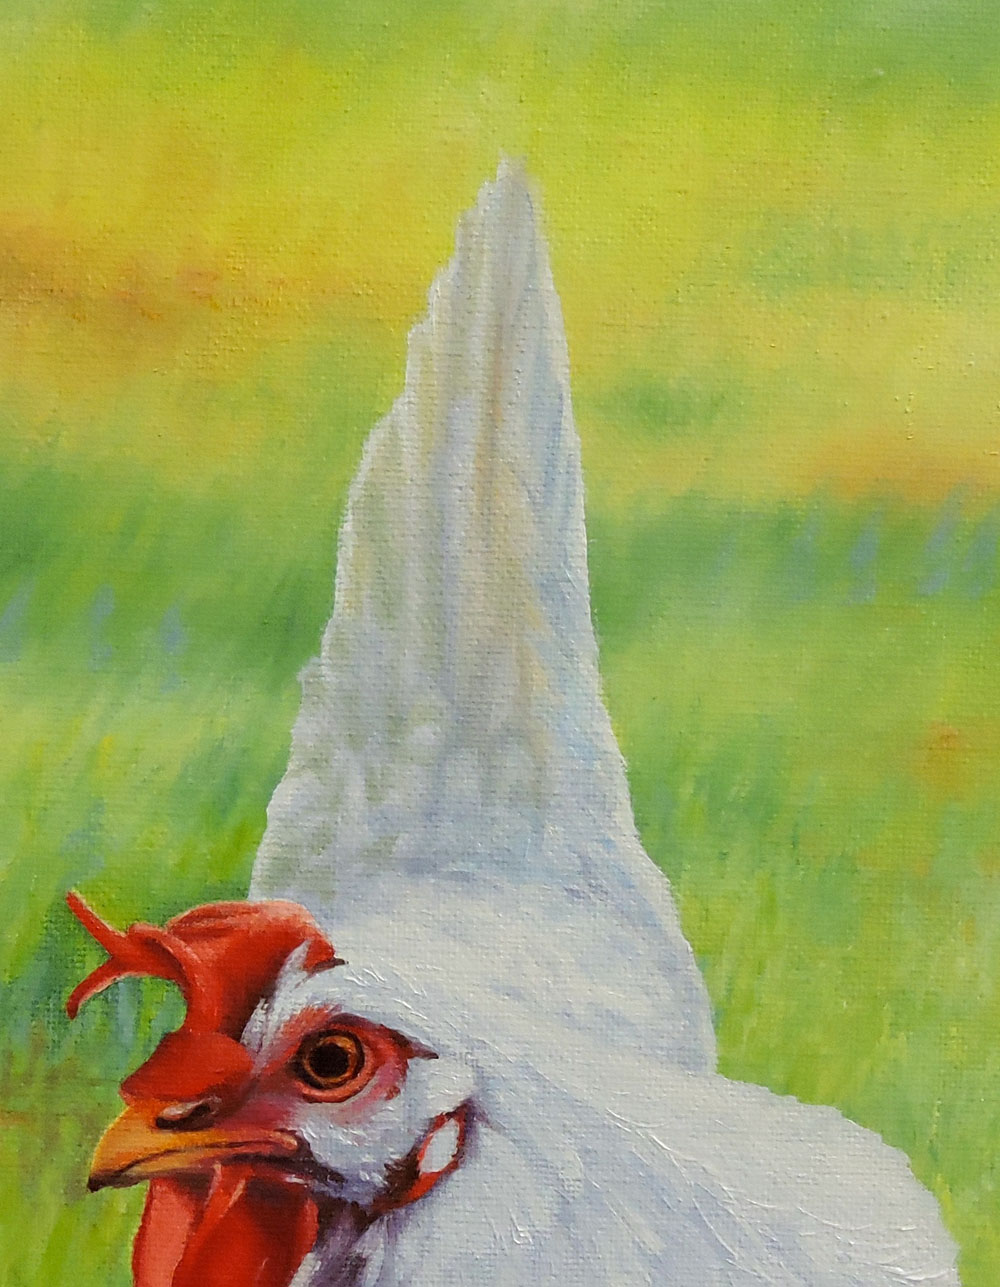
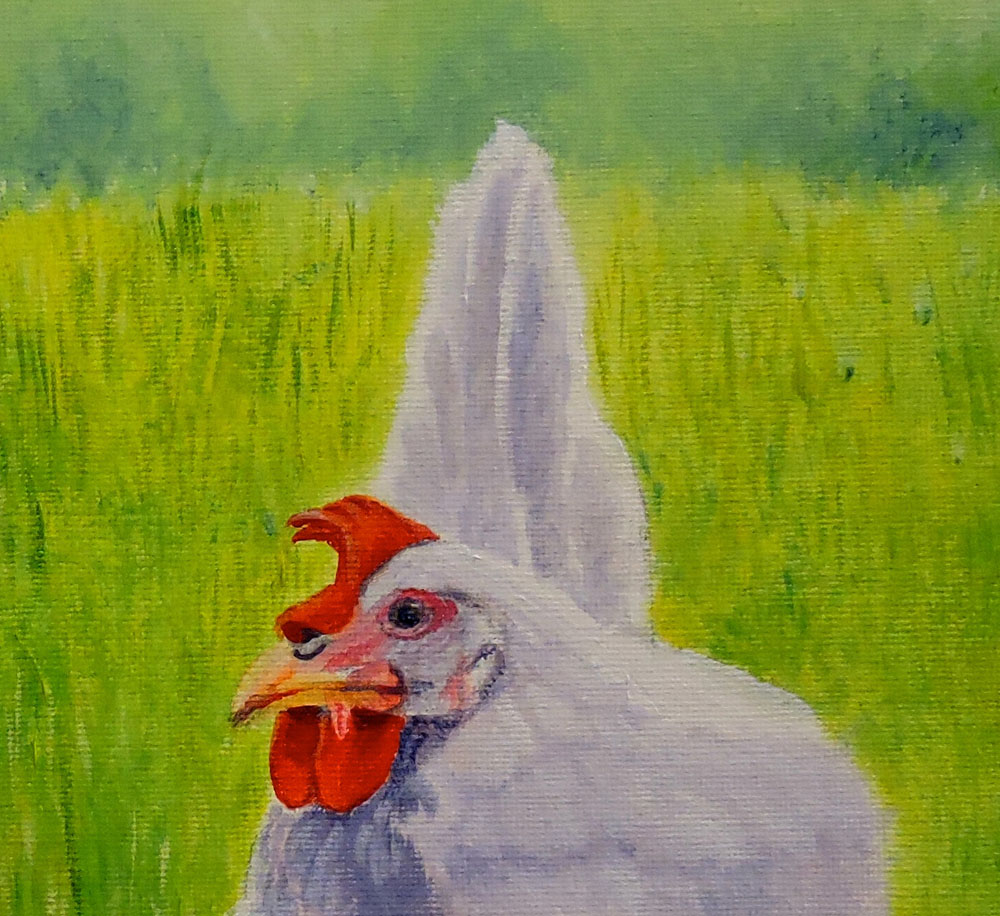
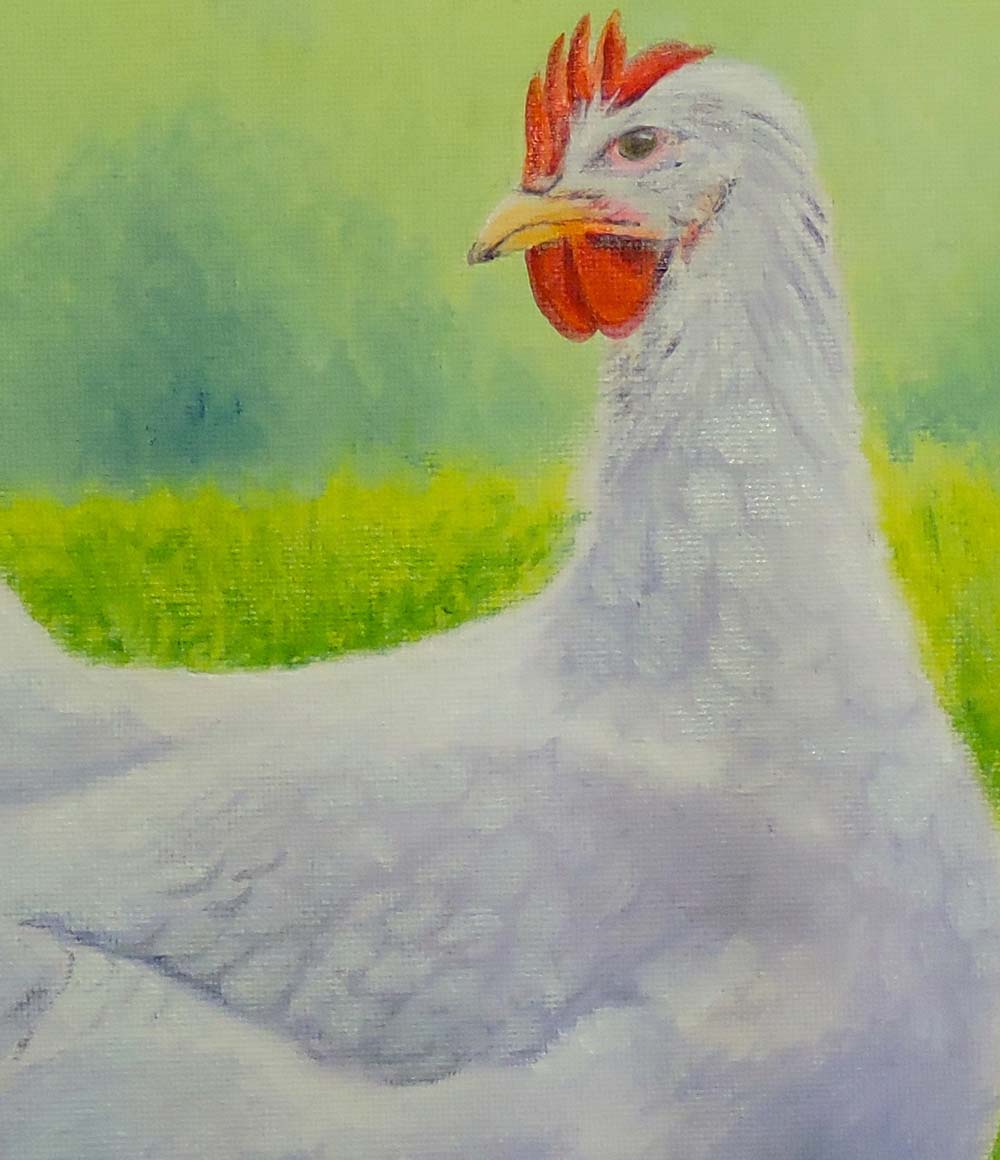
Starting with Donna's head (the top one) we are going over our initial wash with thicker paint, and a fine brush. Brush in the very darks first in the direction of the feather growth (we want some texture now). Mid-tones are next, then white. Use just white for the highlights even though this area is in shadow. While the paint is wet, it will blend in and mix with the darker hues anyway.
Jo has redefined the chickens' beaks and dabbed some more pink highlights in their combs. When you look closely at the chickens, you don't realise how crazy their combs and wattles etc are until you paint them!
Little Ricca is next. She is a little closer to the viewer, so requires even more attention to detail.
Friday, 24 July 2015
Lesson No.4 - Washing in the Shadows
With our Cobalt and Cadmium Red, we just washed in the shadows, placing the darks and mid-tones, leaving white canvas for that strong light for now. Next week we'll go over it again in thicker paint with more detail.
You can see how Jo's chickens are already taking shape. This will be a great guide for when we paint the chickens again in detail.
Friday, 17 July 2015
Lesson No.3 - Painting Beaks and Combs

In this chicken painting project, I'm going to show Jo's work as well. It will demonstrate how you can create your own individual style as you keep painting and practising.
We are using Cadmium Yellow Deep and Cadmium Red for the beaks, and Cadmium Red and Ultra for the combs and darks.
Tuesday, 14 July 2015
Lesson No.2 - Washing in the Background
Jo and I have just washed in our backgrounds - playing with colours and tone until we are happy with the results. Now all we need to do is go over it again in thicker paint, with more detail, keeping in mind our "out-of-focus" techniques.
Sunday, 12 July 2015
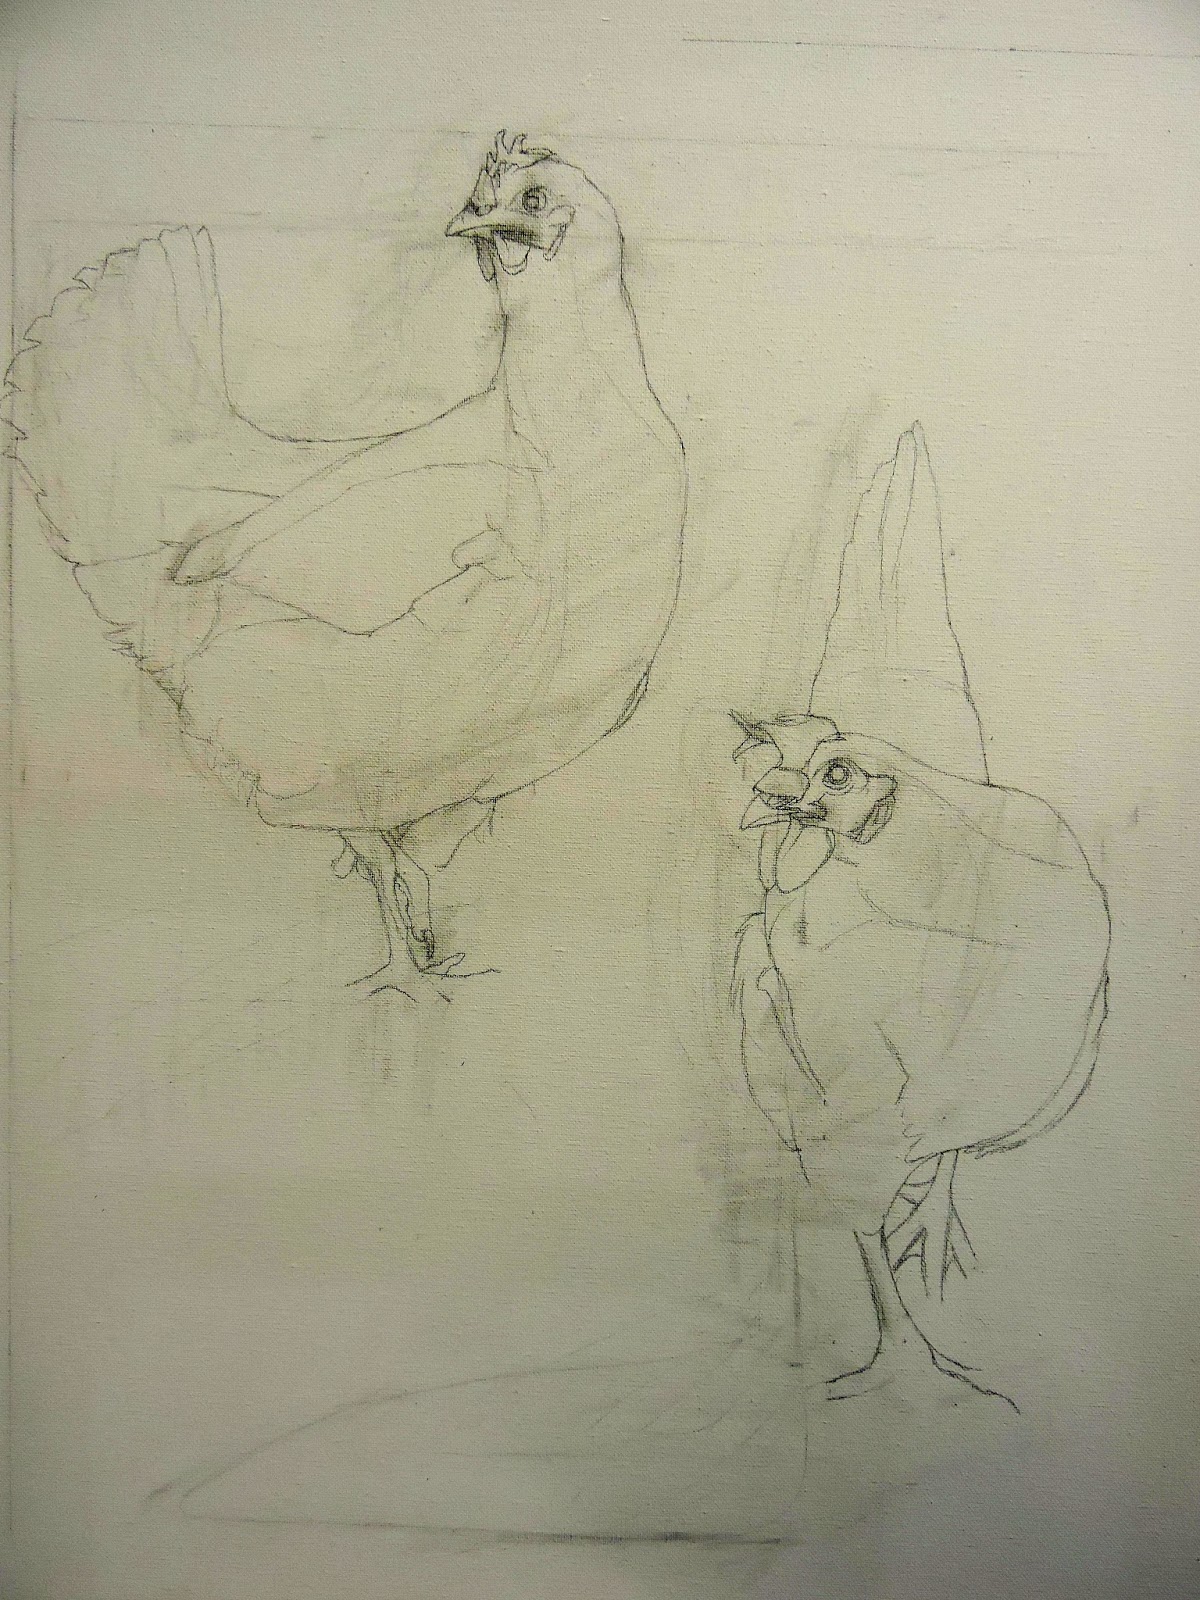
How to Oil Paint Chickens
I've been wanting to paint my chickens - Ricca and Donna - for a while now. They are 2 beautiful white chooks who love to sit on the back verandah and make a mess, dig up my flower beds and lay their eggs in the cockatoo's cage!
Subscribe to:
Posts (Atom)